Taking screenshots could be useful in many scenarios. For example you are trying to fix your device and want to show what exactly is showing up on the screen or maybe you are writing a tutorial that requires screenshots. There are a lot of applications that allow you to capture the screen of your Android device in normal mode, while there are not so many solutions for take screenshots when the android device is in recovery mode. Follow the guide below to take screenshots on Android in recovery mode.
The things you need to know
The tool we are going to use is only available for Windows. You must have a Windows based PC to follow this guide.
You need to install the ADB drivers on your PC. If you have not yet installed these drivers, go to the official Android SDK site and download and install everything on your PC.
Fare Screenshots Android in Recovery Mode
First of all put your device into recovery mode. To do this, you can press a key combination provided by the manufacturer or you can use an app like “Quick Boot” which allows you to easily reboot into recovery mode.
Once you are in this mode, follow these steps:
1. Connect the device to the PC using the USB cable. If a message appears on your PC saying it is installing drivers, let it do so.
2. Download Screenshot Recovery Tool and extract all files to your desktop.
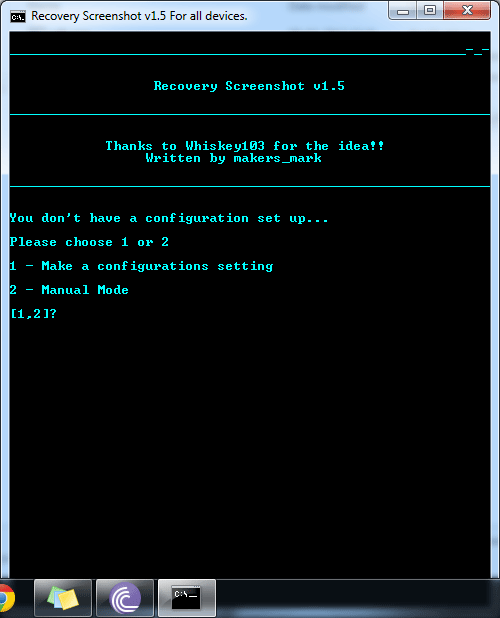
3. Double click on the file named “RUNrs.bat” you just extracted on your desktop. The tool will start.
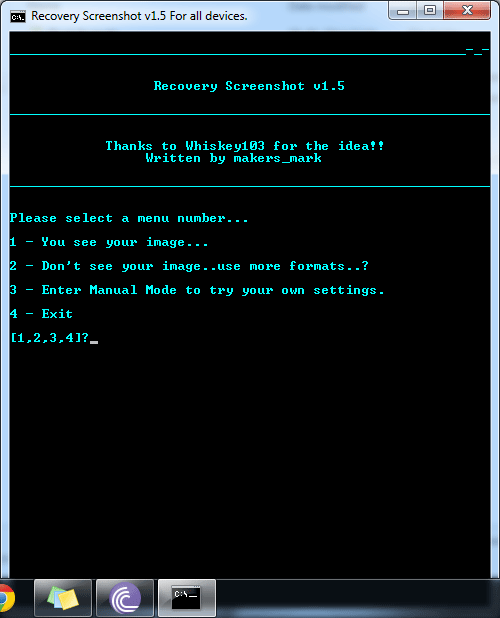
4. The first screen should ask what kind of configuration you want to use. Press the "1" key on your keyboard and then move on.
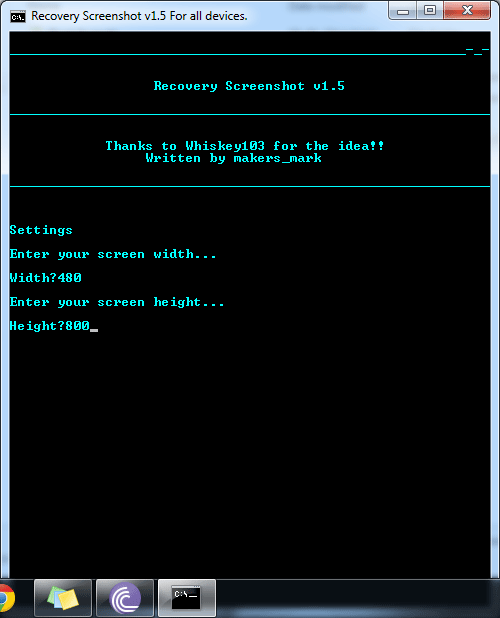
5. The next screen will ask you to enter the screen resolution of the device. If you don't know the resolution, you can find it in the phone specifications. After entering both the width and height, press Enter.
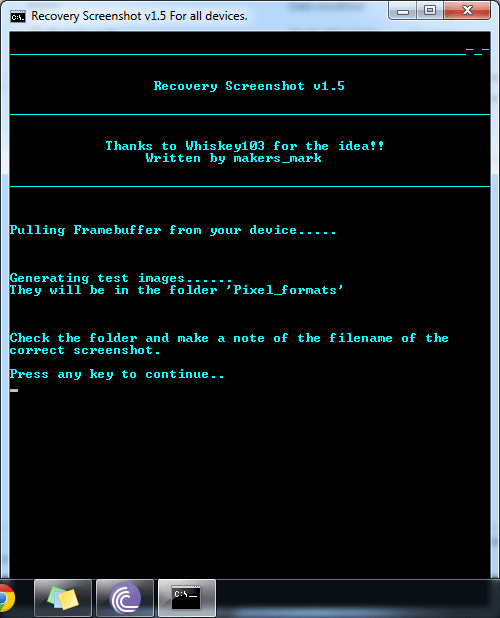
6. The tool will start making screenshots of the device and will create a new folder on the desktop with the name “Pixel formats”. Just go inside the folder and check all the screenshots it has captured. Make a note of the screen name you prefer. Click Enter and you will see:
7. On the next screen, select the first option “1 - You see your image…”.
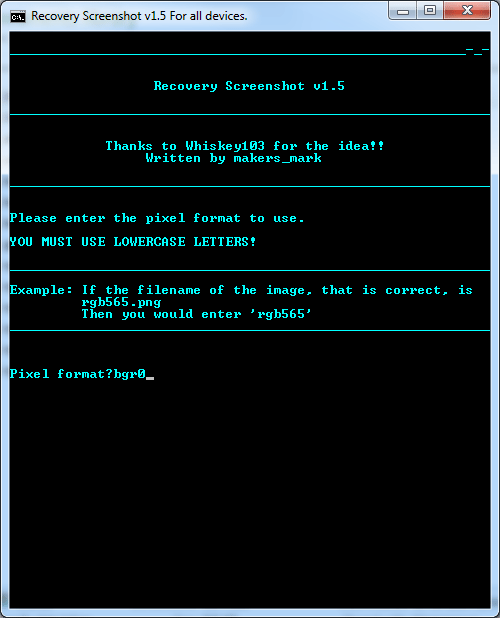
8. Now enter the screen name you wrote down in Step-6. Make sure you don't type the extension of the image, that is, if the name is “rgb565.png”, just enter “RGB565”. Then press Enter.
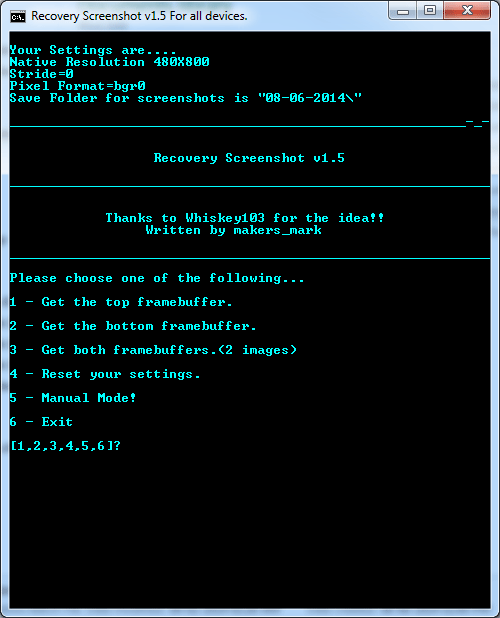
9. The tool has now been configured to take screenshots of your device in recovery mode. On the next screen, select the third option which says "3 - Get both framebuffers. (2 images)"
10. Done!
27