Enough, I have decided that I will change jobs; I will no longer be a computer communicator but I will devote myself to my true passion: I will be an astronaut! Or maybe I could be a Chef? After all, I have a strong passion for pastry ... Don't you think I'm serious? Well, if you want, I'll show you the photos I took. Toh, look here: you can see me at work on the International Space Station and at work in the kitchen of a very famous cook: you know how it is, I'm trying different tasks to choose the one I like best.
How do you say? You are 100% sure that he is fooling you and you want to know how I went about it put my face in a photo? Alright then! You are too good, I have to admit! I was actually just introducing the topic of this tutorial, which is photomontages.
If you want to make all your friends believe that you have been on the Hollywood red carpet, if you want to make an extravagant photo, applying your face on a billboard, then you just have to take a few minutes of free time to read this guide of mine. . I'll talk to you about how to make photomontages quickly and easily using online tools, applications and programs. I wish you a good reading and a lot of fun!
Index:
- How to put my face in a photo (online)
- App to put my face in a photo (Android / iOS)
- Programs to put my face in a photo (Windows / Mac)
How to put my face in a photo (online)
Photo Funia
There are endless possibilities to create photomontages. However, if you are willing to apply your talent and your creativity by creating a photomontage at no cost, I recommend that you first opt for an online tool.
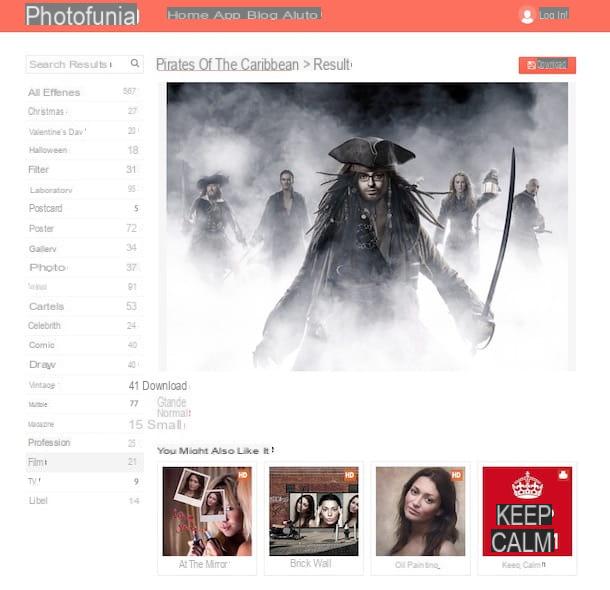
Among the options offered by the vast world of the Web that I recommend you use to put your face in a photo, there is the Internet site Photo Funia. I consider this website one of the best online resources since it will help you fulfill the purpose you have set yourself in an easy and fun way.
I chose to tell you about this service also because it is an online tool that can be used to create nice images completely free of charge. In the following lines I will explain how to use it to create photomontages.
To use it, the first thing you need to do is connect to the home page of this site and thus be able to view all the photomontage categories present in it. From the home page of the site, all you have to do is explore the various categories: you can see them in the sidebar and you can independently choose the one you are interested in.
Once located, click on it, so you can see the various options available. Then choose the photomontage you like best. If you are undecided you can also click on the buttons New e Popular located at the top right to view additional recent and most used photomontages.
Did you find the photomontage you like? Fine then click on it and then click on the button Choose photos, in order to load your image whose face will replace the default one.
You will be asked if you want to upload the photo from your PC (button Upload from PC) or if you want, for example, to take a photo at the moment and then press the button Camera. If, on the other hand, you will press the button Online, you can import your image from one of the main cloud storage platforms or from some of the supported social networks.
Once you have imported your image, you will be asked to crop it; to confirm the changes, press the button Cut out and then on the button Go.
At the end of the processing, the final result will be displayed on the screen and you can possibly save the photomontage created on your computer. In correspondence with the wording Download in fact you will find the links Great, Normal e Small which will allow you to download the image to your computer in different sizes.
PhotoFunia is also available for use on mobile devices with an Android or iOS operating system: you can download the app from the Play Store or the App Store.
Pixiz
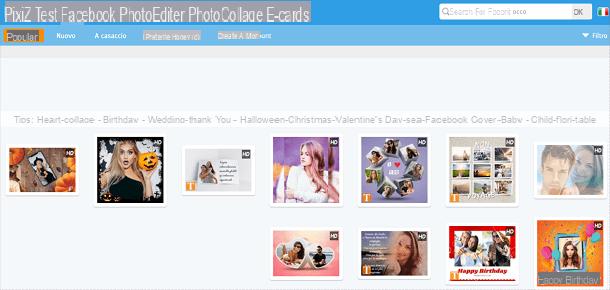
Among the many resources on the Web, you can also choose to make use of the Pixiz website, an excellent Web portal that offers a wide range of resources free that will allow you to put your face in a photo, thus making a photomontage in quick time.
The first thing you need to do is connect to its main website and choose the photomontage you want to apply to your photo, referring to the choices that you can see directly on the main page.
This Internet site offers different categories of photomontages and then choose one of your liking by starting to click on the suggestions menu items, or by directly choosing those present as a preview image on the home page.
I have chosen to tell you about this website from the moment it allows you to create photomontages with different choices available; in particular, there is the possibility of creating photomontages even in high resolution. These photomontages are marked with the wording HD.
Once you've clicked on the template you want to use, you'll need to import your image by clicking the button Select image.
Alternatively, you can click the (+) and choose whether to import the image from Facebook or click it via Webcam: just click on the respective buttons you will see on the screen.
Once you have imported the image, click on the button Go to continue; keep in mind that the clipping of the same will take place automatically but that you can act manually if you remove the check mark in correspondence with the wording Automatic cropping. This way, once you hit the button Go, you will be prompted to manually act to crop and edit the photo.
Once you have applied your face in the image you have chosen, thus creating the photomontage, you can download the final result on your computer. To do this, press the button Download, oppure sul pulsating Unbranded Pixiz Download; press on this last button if you want to download the image without watermark.
As with Photo Funia, Pixiz can also be used from a smartphone or tablet: just download the free application for Android or iOS.
App to put my face in a photo (Android / iOS)
Photo Lab (Android/iOS)
Also in this case, if we wanted to talk in detail about all the applications for Android and iOS that allow you to put your face on a predefined image with the purpose of creating a photomontage, we would be here talking for hours.
Precisely for this reason, in this tutorial, I would like to point out some really popular applications that, thanks to the very high marks obtained in the virtual stores of Android and iOS devices, have earned an honorable mention in this guide of mine.
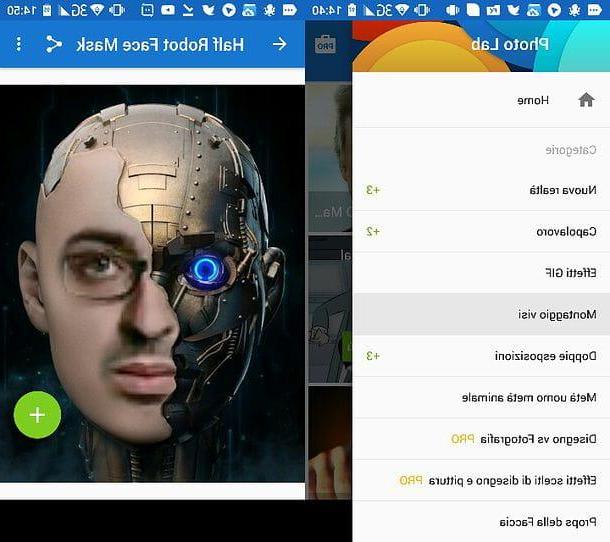
The first application I recommend is Photo Lab and, to see how to use it together, you must first download it from the iOS App Store or the Android PlayStore.
Once started, you will first have to tap on one of the many effects that you will see on the main screen. Especially if you are trying to make a photomontage and you want to know how to use it to put your face on a photo, I suggest you tap the button Category located at the bottom and then choose the category Face mounting by tapping on it.
You will then be able to see a number of popular effects to use as a reference for making a photomontage. Once you have chosen the artistic style you will have to follow the steps indicated on the screen: you will be asked to import the image to be modified from the memory of your device, to make a cut if necessary and then wait for the display of the final result.
Finally you can save the final image in the memory of your device: to do this you will have to tap on button with three dots symbol located at the top right and then press on the item Save to device.
This application is basic free but you can subscribe to a subscription version For which allows its use in a completely unlimited way and without any advertising banner.
MSQRD (Android/iOS)
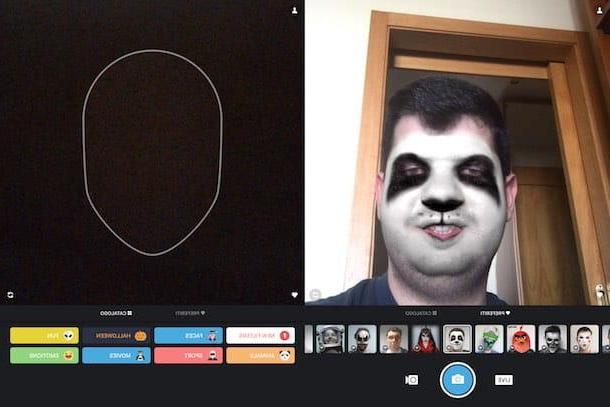
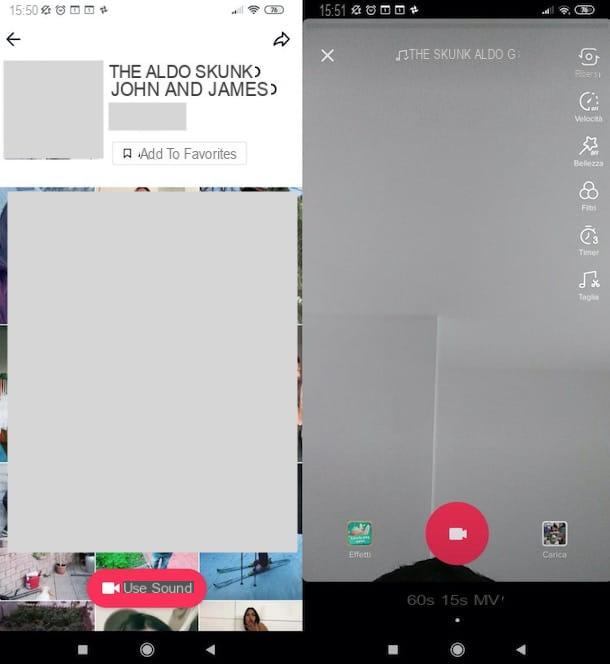
If you love social networks and would like to create a photomontage to share on the main social interaction platforms, then I recommend using the application MSQRD available for free per Android e iOS
This application was purchased by Facebook and allows you to change your face in real time, applying it within a virtual environment and also inserting objects in real time. The application then recalls the Instagram / Snapchat style filters and I recommend using them.
All you have to do is download it from your device's reference store and then use one of the many filters available on the main screen. Once the filter has been applied you will then have to press the button with the camera symbol to take a photo and save it in the memory of your device.
Programs to put my face in a photo (Windows / Mac)
As an alternative to using an online tool or application, you can also think about making a photomontage in a more professional way, using software suitable for this purpose.
In fact, there are several programs that allow you to edit photos and perform advanced procedures such as applying a face on another photo, to create a photomontage.
What I advise you to do, in this case, given the numerous possibilities, is to deepen the subject by reading my guide entitled "programs to edit photos" or the one in which I explain what are the best programs to edit photos for free.
Anyway, I would also like to give you some quick advice on what are the most popular programs in this area:
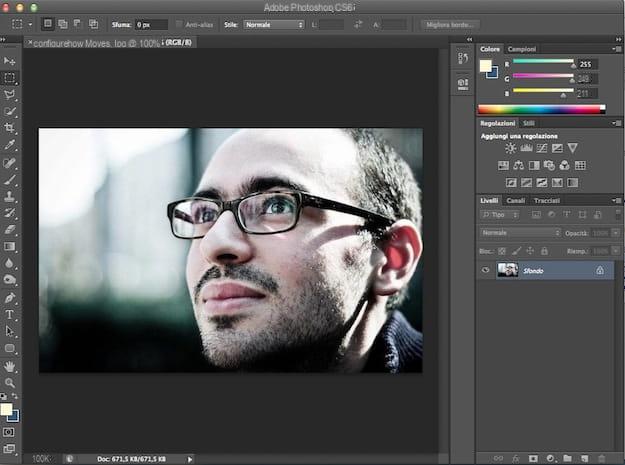
- Photoshop (Windows / Mac) - there is no better program than Photoshop to retouch photos and create photomontages. This software is available on both Windows and Mac but, since it is an advanced program, you have to purchase a license. To learn more and possibly evaluate the purchase, I refer you to reading my tutorial in which I explain how to use Photoshop.
- GIMP (Windows / Mac) - In this case we are talking about the alternative program most used in Windows and Mac. This software allows you to retouch photos and modify them and can be used with the aim of creating a photomontage. This software is easier to use and is considered by many to be Photoshop's most famous competitor. Also, seeing as it is quite free, if you want to know how to use it, I recommend that you read my guide on how to use GIMP.