Would you like to post on Instagram a photo saved in the Gallery of your smartphone but, before proceeding in this sense, would you like to make it smaller, in order to allow an optimal display in your post or in your story? Well, I don't see what you're waiting for… go ahead! How do you say? Having never done anything like this, don't you know how to do it? No problem, if you want I can explain it to you.
In fact, if you dedicate a few minutes of your precious time to me, I can personally illustrate you, in a simple way but not for this lack of details, how to shrink a photo for instagram. I anticipate immediately that this is feasible by using a special feature integrated in the Instagram app for Android and iPhone or, if you prefer, by resorting to the use of third-party solutions for editing images. In all cases, don't worry, you won't have to do anything overly complicated.
Then? How about putting the chatter aside and starting to get busy immediately? Yup? Great. Position yourself comfortably, take a few free minutes just for you and start focusing on the information below. I am sure that, in the end, you will be able to tell yourself more than satisfied with the results obtained. Let it bet?
How to shrink a photo on Instagram
If you are interested in understanding how to shrink a photo on Instagram, going to act directly from the official app of the social network for Android (also available on alternative stores) and iOS, so that it can then be published in a post or within yours stories, the indications you must follow are those you find below. As anticipated at the beginning of the article, you have nothing to worry about, it's not difficult.
Post

If you wish shrink a photo for Instagram why do you want to publish it in a post, apr l 'social network app on your smartphone and, once its main screen is displayed, log in to your account (if necessary), then press the button capacitor positive (+) lead located at the bottom and select the photo present in the Gallery of your smartphone that you want to publish online.
By doing so, at the top of the screen, you will be shown the preview of the chosen photo, automatically resized by Instagram: to make it smaller, you can simply use the pinch to zoom; so, place two fingers on it and then close them, in order to adjust the zoom level of the image according to your needs. If you want to completely reduce the zoom level, you can also tap the button with the two arrows which is in the lower left part of the photo.
When the changes are complete, press on the item NEXT placed at the top right, apply (if you want) any other changes to the image, setting a filter and making other changes related to brightness, contrast etc. (using the options you find in the sections Filter e Modification), and press again on the item NEXT, top right.
Once that's done, enter one caption accompanying image, in order to describe the content of the post you are publishing; decide whether to tag other Instagram users or add a location, choose whether to post the photo also on other social networks (Facebook, Twitter or Tumblr) by moving the relative levers from OFF a ON, and press on the item Share (above) to proceed with the publication of the photo in the Instagram feed.
Stories
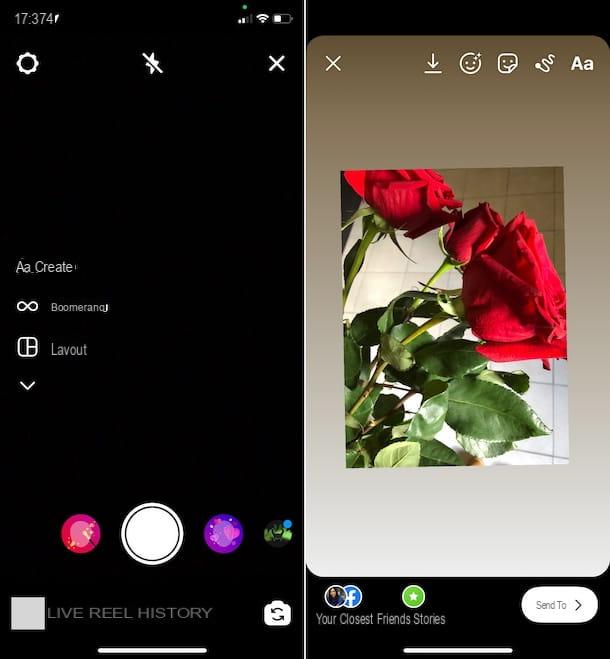
If, on the other hand, you are interested in shrinking a photo for Instagram because you want to publish it in one history, first of all open the famous app on your device and press the icon of camera located at the top left, or on the thumbnail of your avatar with the (+) button next to it that you find on the main screen of the application.
Next, make sure that the option is selected at the bottom of the proposed new screen Story (otherwise you can do it by swiping the screen) and press on white circular button placed in the center, to take a photo at the moment. If, on the other hand, you want to take an image from the Gallery, tap onpreview located at the bottom left and select the photo say your interest.
At this point, the chosen image will be automatically resized by Instagram, in order to perfectly fit the Stories screen: to make it smaller, all you have to do is use the pinch to zoom, so you have to put two fingers on it and then you have to close them, until the zoom of the image is reduced according to what are your needs.
After reducing the size of the photo, if you want, make further changes to it using the buttons at the top: the icon with the face with the stars allows you to apply filters and effects, the one with the sticker allows you to insert gifs, stickers, music tracks etc., the one with the stretch allows you to draw while the icon Aa allows you to insert custom text.
To conclude and, therefore, proceed with the publication of the story, tap the button Send to which is located at the bottom right and decide whether to share the story on Instagram and possibly also on Facebook or only with close friends, by tapping on the relevant button Share present in the following screen.
How to shrink a photo for Instagram
As I told you at the beginning of the guide, if you prefer, you can reduce a photo for Instagram also by resorting to the use of third-party applications. If this interests you, below you will find some of the main solutions suitable for the purpose you can rely on.
Google Photo (Android / iOS)
Google Photos is the free app of the homonymous service of the Internet search giant, thanks to which it is possible to create an automatic online backup of the images (and videos) present in the Gallery and which also acts as a viewer and photo editor.
It is pre-installed on most of the recently produced Android terminals (and otherwise it can be taken from the relevant section of the Play Store), while on the iPhone it must always be downloaded from the App Store, by pressing the button Get, quindi quello Install and authorizing its download using Face ID, touch ID o password dell'ID Apple..
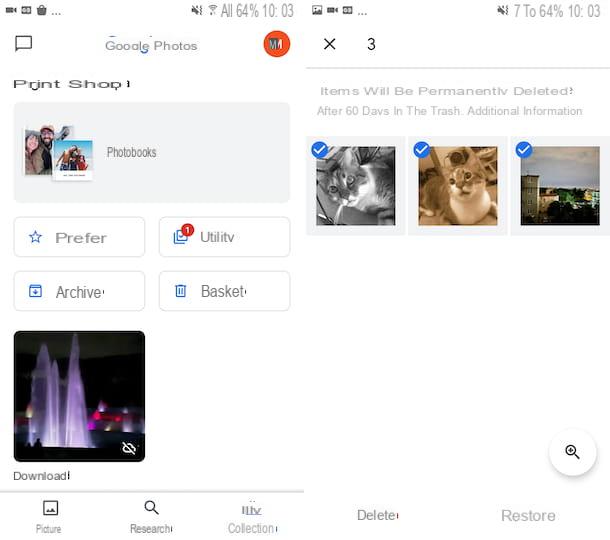
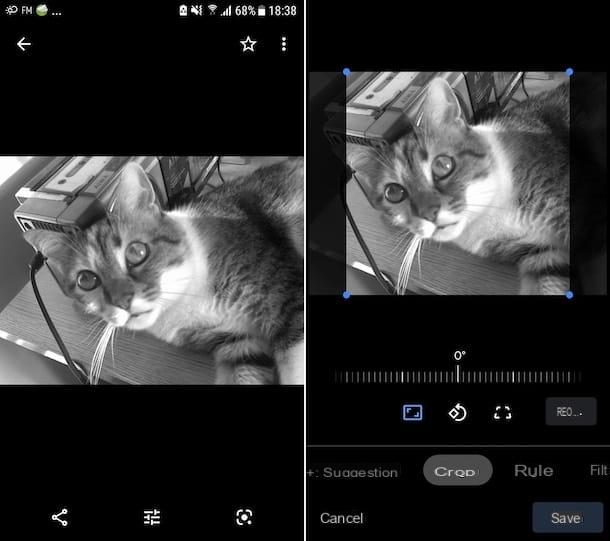
Once the Google Photos app is launched, select theimage on which you wish to intervene from the section Gallery (if you don't see it, you can search for it in the albums by accessing the section Collection or you can search by keywords, places, activities etc. by accessing the section Research).
At this point, tap the button with i cursors placed at the bottom and, if you are using Android, click on the option Cut out at the bottom of the screen and touch the icon with the rectangle and corners with edges that you find below; if you are using iOSinstead, tap on the icon cutter and then on the one with the dashed rectangle inside.
Next, choose theresize option you prefer from the menu that appears. Alternatively, you can resize the photo yourself by moving the selection rectangle visible on the image. Optionally, you can also decrease the zoom of the photo inside the selection area, using the pinch to zoom, that is to say by placing two fingers on the image and then closing them.
When the changes are complete, tap on the item end and / or on that Save and decide whether to save the changes oncurrent image or whether to create one new copy of the same and that's it. Then, proceed with the publication of the photo on Instagram, implementing the instructions I have given you previously.
Photo (iOS)
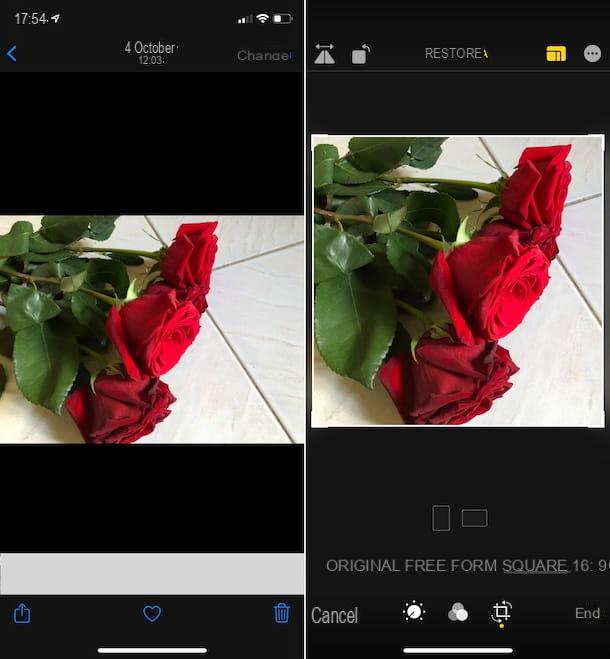
Stai using a iPhone, you can zoom out a photo for Instagram also using the app Gallery, which is the default of iOS for viewing, managing and editing photos on your device. The application, in fact, also integrates editing tools through which it is possible to reduce the size of the images, rotate them etc.
To be able to use it for your purpose, select theicon Photos app (the one with the multicolored flower on a white background) that you find in Home Screen and / or in the Library App of iOS and tap on photo you want to publish on Instagram, which you find in the section library. If by doing so you cannot find the photo you are interested in, you can search for it within a specific album in the section Album or you can try to find it based on keywords, categories etc. by accessing the section Search.
Once you have opened the photo of your interest, then tap on the item Modification present at the top right, then on the button with the cutter which appears below. Then press the button with i rectangles located at the top right and choose one of the preset available below to resize the image. Alternatively, freely resize the photo by moving the selection rectangle visible on the screen.
If you deem it necessary, you can also zoom out of the photo within the selection area using the pinch to zoom, then placing two fingers on the image and then closing them.
When the changes are complete, tap on the item end, at the bottom right, to save the changes, then proceed with the publication of the photo on Instagram, putting into practice the instructions I gave you at the beginning of the guide.
Other apps to reduce a photo for Instagram
The apps to zoom out photos that I have already reported did not convince you in a particular way and you would like, therefore, that I suggest you some alternative solutions? I'll settle you immediately.
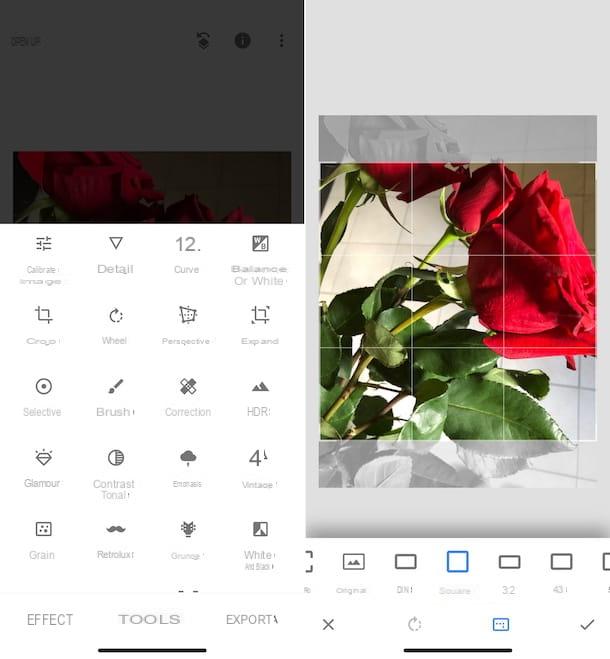
- Snapseed (Android / iOS) - app distributed totally free by Google that offers the possibility to edit and embellish photos using a wide range of tools and filters. Thanks to it, therefore, it is possible to cut the photos and reduce them to publish them on Instagram, but also to modify their colors, brightness, apply frames etc. More info here.
- Pixlr (Android / iOS) - another photo editing app that provides its users with all the necessary tools to crop and rotate images, shrink them, correct red eyes, insert writings and much more. It's free, but offers in-app purchases (at a base cost of € 1,09) to unlock extra features.
- Photor (Android / iOS) - another image editing app that can be handy for shrinking a photo for Instagram. In fact, it allows you to edit photos in various ways, by applying effects, stickers, making structural changes, etc. It's free, but offers in-app purchases (at a base cost of € 1,09) to unlock additional content.
For more details about the applications I just told you about and to find out what other solutions of this type you can possibly use, I recommend reading my guide on apps to edit photos for free.
How to shrink a photo for Instagram