You would like to save a screenshot on your computer by adding maybe a shadow effect around but unfortunately you do not know which solution to use as the tools integrated into the operating system do not allow you to do this. Within this tutorial today we will explain how to take shadow screenshots on windows 10 using a simple software called Greenshot.
For those unfamiliar with it, this is a free and lightweight program that allows you to quickly capture screenshots of windows, specific areas or the entire screen, and even capture complete web pages from browsers. Once you have captured the screenshot, you will be able to insert notes, highlight parts of text or obfuscate information that you do not want to reveal to others. Apart from this, Greenshot allows you to export the screen in several ways: save it on your computer, send it to the printer, attach it to an e-mail, and so on.
How to take shadow screenshots on Windows 10
The first step to take shadowed screenshots with Greenshot is obviously to proceed with the download and installation. Open the default browser on your Windows PC, connect to the software download page on the official website and then click on the button NEU Stable.
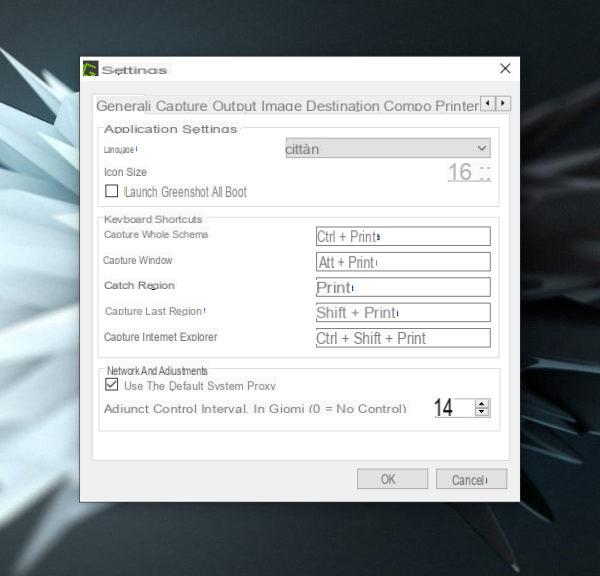
Although it is an English language software, during the installation phase it is possible to add the in your language language package. Once the installation has completed successfully, we recommend that you set it up right away. To do this, right-click on theicon of Greenshot present in the notification area at the bottom right and choose Preferences ... from the displayed menu. Once this is done, click on the drop-down menu next to Language and select cityno. Confirm the change by simply pressing on OK.
 How to take shadow screenshots on Windows 10 1">
Once the in your language language is set correctly, you will be ready to take a screenshot with shadow! To start, right click on theGreenshot icon in the Windows notification area and select the option Capture window da list. Once this is done, press on the program you want to capture a shadowed screenshot through the proposed list (eg. Calculator).
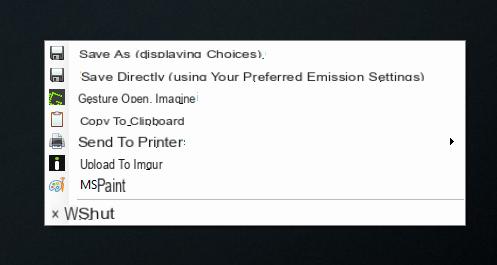
At this point, using the drop-down menu that appears on the screen, select the option Open in Gest. Images in order to open the captured screenshot in the image editor built into Greenshot.
 How to take shadow screenshots on Windows 10 2">
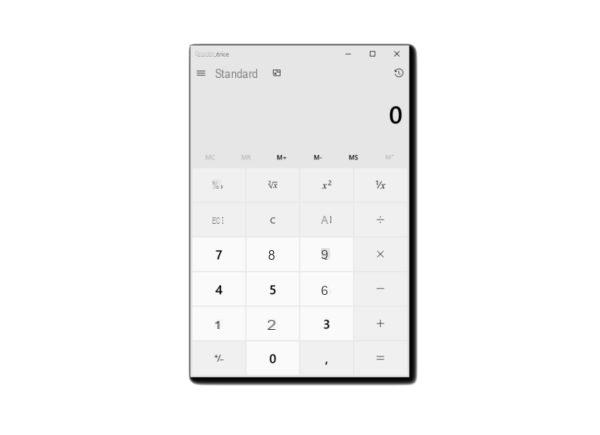
Now, in order to apply theshadow effect to the captured screen, click on the button Effects present in the left sidebar (theicon depicting a magic wand and a hat) and press on Ombre from the menu that appears. Click on the latter option several times to expand the shadow area around the window.
After making the necessary changes, you will need to proceed with saving the modified screenshot. To keep the shadow effect, the screenshot must be stored in PNG format and not in JPEG or BMP. To do this, click on the menu Fillet in Management Images of Greenshot and select Save as (viewing choices). Through the File Explorer window, set the destination folder of the file and make sure that the format PNG in the drop-down menu next to Save like. Conclude the procedure by simply pressing the button Save.
 How to take shadow screenshots on Windows 10 5">
Doubts or problems? We help you
If you want to stay up to date, subscribe to our Telegram channel and follow us on Instagram. If you want to receive support for any questions or problems, join our Facebook community.


