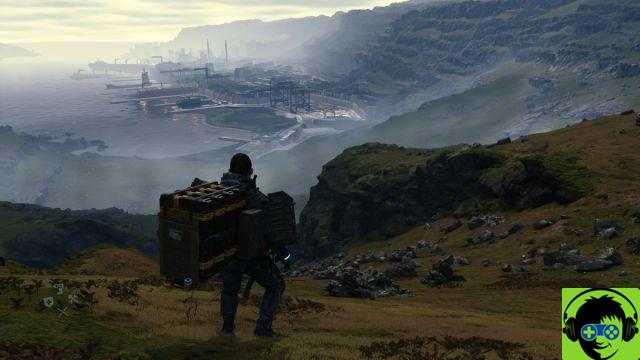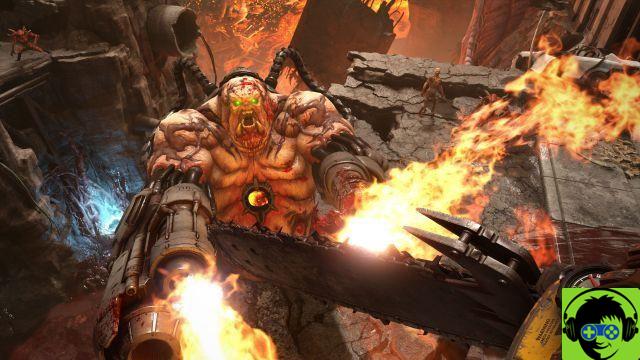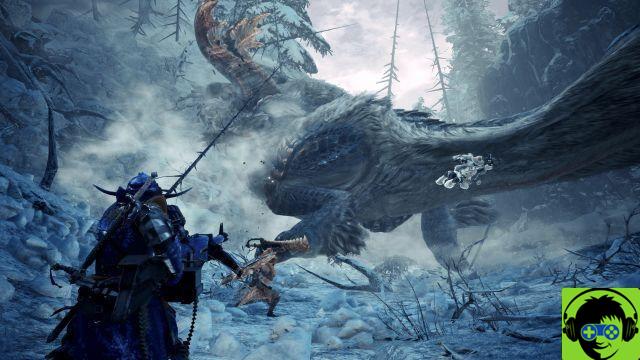
Monster Hunter World: Iceborne is filled with all kinds of wonderful sites for you to enjoy. Fortunately, this extension also introduces View Mode, which allows you to take screenshots of the beautiful world created by the developers. Screenshots are a great way to share your love and enjoyment of a game, and convince your friends to step out of the fence and jump into the new expansion.
Monster Hunter World Iceborne: How to Use Display Mode and Take Screenshots
Before you step out into the world and start taking screenshots, there is one very important thing you should know. Time will not stop for View mode. While some games, usually single player experiences, can just freeze time for you, because Monster Hunter World: Iceborne is an online multiplayer game, this is not a View mode feature.
As such, if you plan to use it to take screenshots during combat, you'll need to be quick. To use View mode, just follow the steps below:
- Open the game menu
- Navigate to the Systems tab
- Select display mode
- Position your camera to get the desired shot
- Use your rig's screenshot feature to get the hang of it
On PC, you'll use either Print Screen, additional Steam features, or your GPU software to take photos. You could even use a third-party program, such as PlayClaw. On the PS4, just press the share button, while on the Xbox you have to press the home button twice and then the Y button.
And that's it, your screenshots will be saved in the galleries on your consoles or computer in the file you normally save them to. And remember, even if time doesn't stand still in View mode, this perfect screen is worth the risk of attacking your health bar.