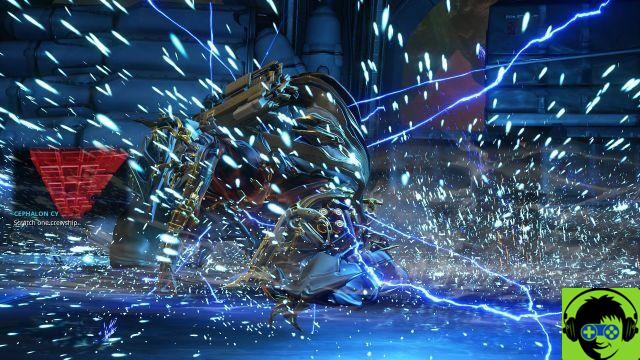
Crews can be destroyed via boarding or using the advanced cannon.
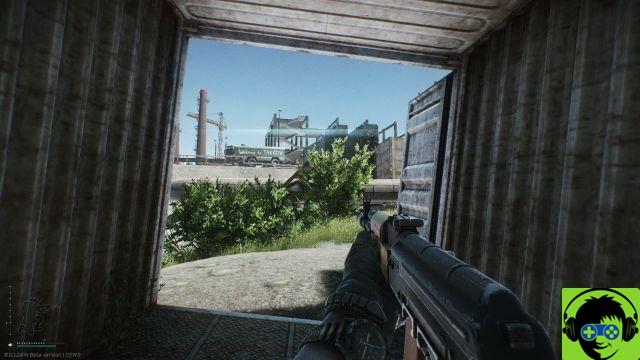
Even without a single intrinsic point invested, Tenno can blast crews simply by dropping his Railjack and boarding it. This can be a bit tricky, given that crew missiles will evaporate your Archwing all at once, but after a recent patch these volleys are much easier to avoid. Dodge the incoming fire after exiting the safety of your Railjack and heading to the rear of the crew. You'll find a hatch between the engines that leads inside - approach and the onboard prompt will appear.
Once inside, cross the cargo hold to the main cabin, dodge or shoot down the Grineer inside. Your objective is the reactor in the center - in the front half of the Railjack star map, the reactor will not have shields, so a few sharp hits will cause it to explode in hell. The crew will catch fire and you'll want to leave before they blow (there will be a timer to the right showing how much time you have). If there is a shield, you just hack into the console in front of it, nuke it.
Alternatively, you can clear the crew and manage it yourself. There are two side cannons in the main cabin and the pilot's seat in the cockpit. Armaments within the crew do decent damage to enemy fighters, and taking one isn't a bad way to contribute, especially if your Railjack's weapons are a bit… soft.
If you like boarding crews then you should look into artillery ranks 3 and 4, which will allow you to use the Archwing slingshot. At rank 3, you can enter the Slingshot and propel yourself towards the crew, but you'll still have to board it manually. Rank 4, however, hits you. The Slingshot requires some coordination, given its limited aiming angle, but it's a phenomenal way to get into a crew without dying. Pair this technique with Tactical Rank 4 to use your Omni Tool to teleport to your Railjack, and you'll find yourself able to rid the stars of enemy crews fairly quickly.
Keep this in mind, however, if you're planning on boarding: Railjack enemies are tougher than their non-Railjack peers. You'll either want to bring a stealth frame if you're aiming to bypass them for the core, or a frame that can kill with impunity without destroying itself (personally, I use Mesa for this).
If boarding feels too spicy to you, you can head to Artillery Rank 5 instead, which will allow you to use the Advanced Artillery Dome Cannon. However, with limited ammo, you or a teammate will need to unlock Tier 5 Engineering if you wish to replenish the Forge Cannon.
Other than that, it's pretty straightforward to use: jump into the cannon via the seat behind the navigation console and coordinate with the pilot to line up the shot. The cannon takes a second to load, so it is essential that you and the pilot are in sync. At lower levels, the cannon will use one-shot crews, but once you reach later Saturn and Veil levels, it will take two (hence the need for a rank 5 engineer).
For more of our Railjack guide series, be sure to check out the guide hub!
-