There are an absolute ton of crates in this level - over 400, and you'll have to hunt them down along with both characters. Dingodile naturally destroys crates, but Tawna is a bit trickier. Especially when you have to hit crates while climbing rails or jumping on flying car traffic lanes.
How 100% at each level | Guide to the locations of all hidden gems and crates | How to find ridiculous WOAH! Meme | WOAH YEAH! Easter Egg Guide | How To Beat All The Bosses | Neo Cortex, N. Tropy and more | How to get the 4 colored gems | Blue, yellow, green and red pitches
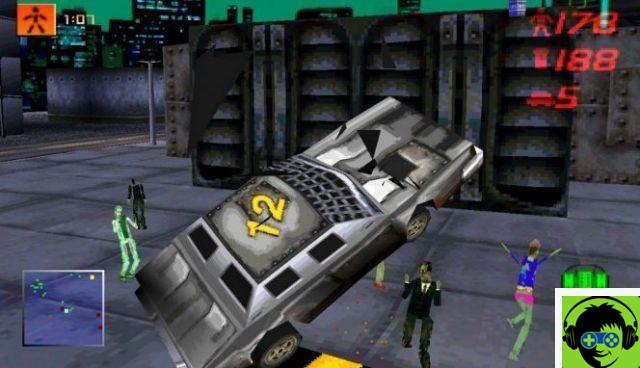
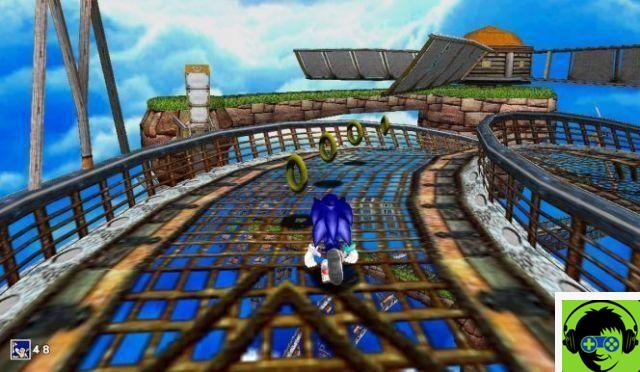
9-2: Rush hour | All crates and hidden gems
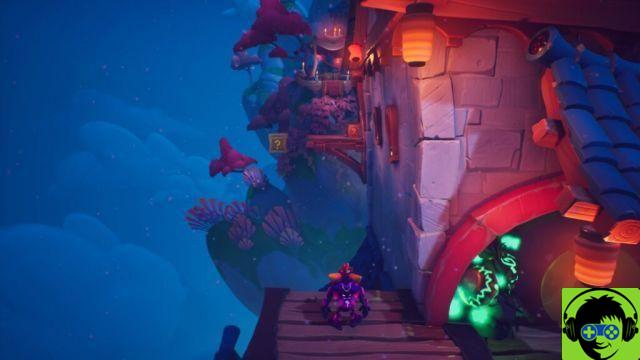
[[Easy to miss] 12/441: To the left of where you start.
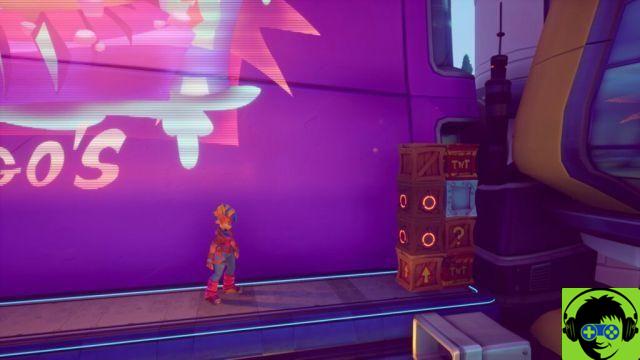
112/441: Crush all the crates on your way until you reach the Goofy holographic sign.
[[Easy to miss] 113/441: To the left of the Dingo sign, on a floating platform.
129/441: Jump on the platform with two cleaning robots. Crush all the crates except 1 Nitro and 1 Nitro with a gold fruit crate on top. You cannot destroy them yet.
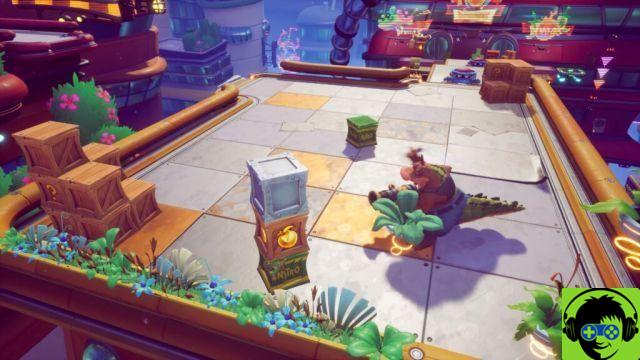
[[Easy to miss] 132/441: Take a crate of TNT in front of you and use it to smash the golden fruit crate above the Nitro on the previous platform.
134/441: You can also use the second TNT to destroy the last Nitro on this platform.
153/441: Continue to empty the crates up to the checkpoint.
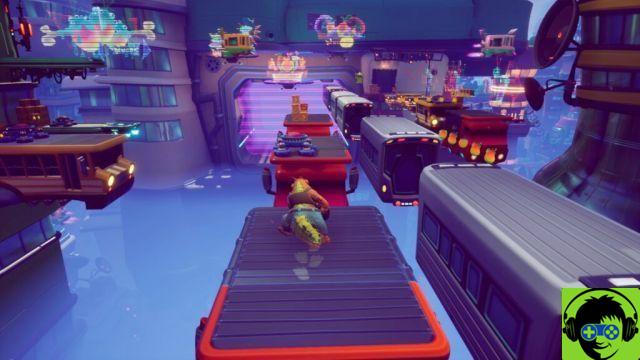
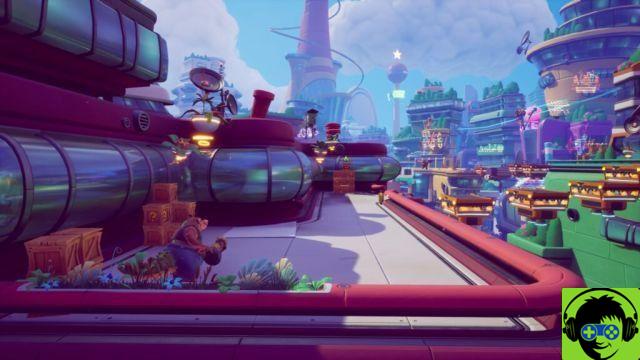
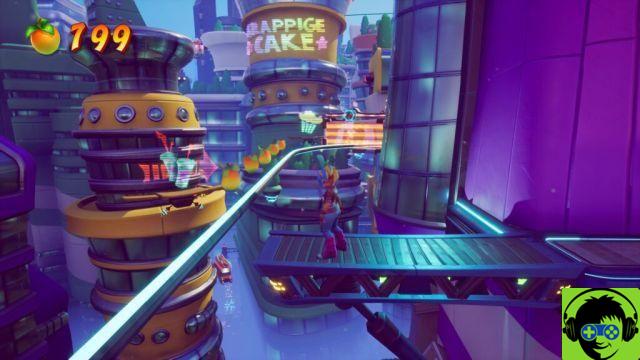
159/441: Destroy the crates and reach the flying cars area. Destroy the 4 crates on the far right and the 1 crate of gold fruit on a drone. Stop when you reach the stationary red truck.
167/441: Destroy all the crates of the second stationary truck.
[[Easy to miss] 196/441: Back on the red stationary truck, look left for an optional path. There is a huge cache of crates on this path.
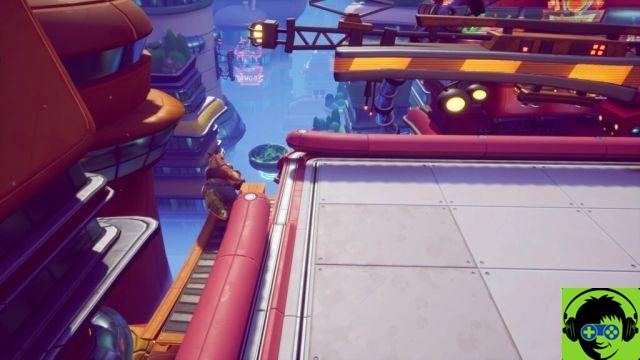
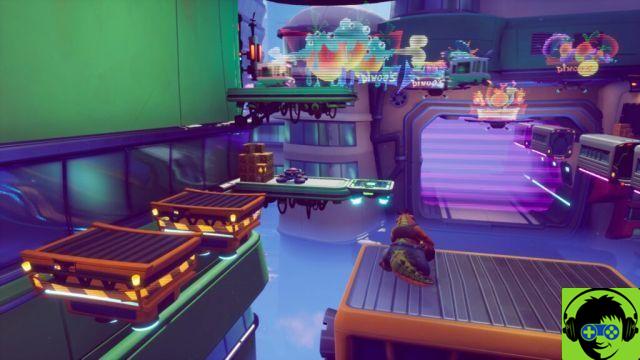
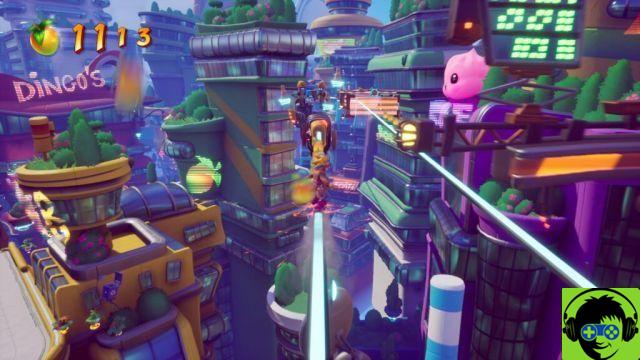
228/441: Go to the right side of the flying car traffic. Destroy all floating crates and TNT. Go down the elevator and smash the checkpoint.
280/441: On the side-scrolling flying platforms, smash all the crates along the way. Optionally, you'll also want to use TNT to trigger the Nitro blocks to make it easier to jump. You may have 4 more or 4 less at this point.
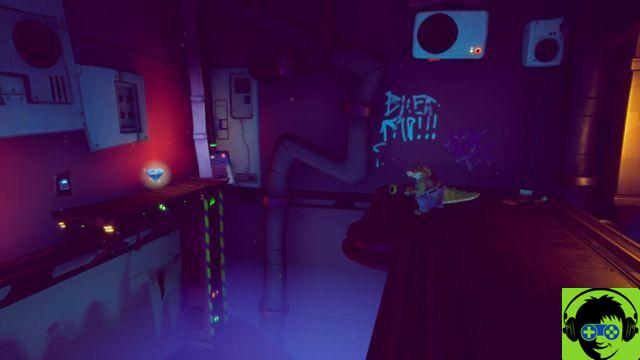
Hidden gem: At the end of the side-scrolling flying car sequence, stop before taking the elevator. Go right and enter the background path to find the hidden gem.
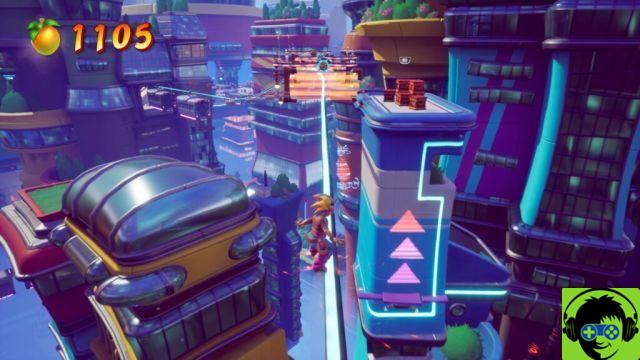
289/441: As Tawna, use the grappling hook to progress and bounce to the sign of the big holo Goofy.
[[Easy to miss] 297/441: To the right of Goofy's holographic sign at the start of the Tawna section, look to the right for a pile of crates. Break the crates with your hook and use the bounce crate to reach a very high crate above.
301/441: Trigger the 2 TNTs before the grinding section of the rail, then crush the 2 solid cases.
302/441: Don't miss the 1st crate on the track sequence.
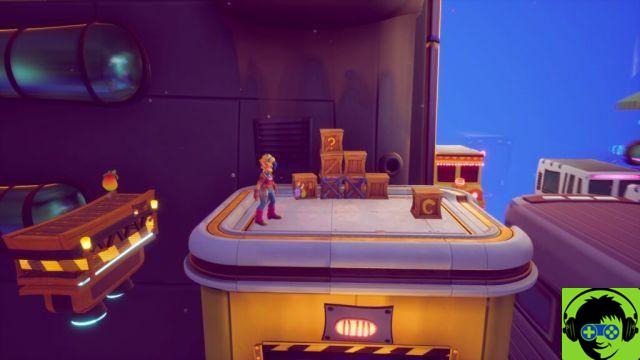
303/441: There is a " ? »Checkout before reaching the regular floating platforms.
307/441: Hit the red "! »Box on the right and crush the 4 boxes.
313/441: Use the grappling hook to trigger the TNT crate, then smash the solid crates before jumping on the wall jump points.

314/441: Reach the checkpoint just before the second rail grinding sequence.
320/441: Crush all the crates in the second rail grinding sequence. Use the grapple to get the floating crates.
330/441: Destroy all the crates, starting at the checkpoint and reaching the third rail.
337/441: Crush all the crates on the third rail grindstone. Use the grappling hook to hit all the floating crates and don't miss the “! »Crate to reveal a single invisible crate.
356/441: At the next checkpoint, look in the foreground for more crates.
360/441: Just before another rail rectification, there are 4 boxes on the left. Use the rebound box and smash everything except the Nitro.
379/441: On the last version of rail, do not miss the floating crates or the stack of TNT.
385/441: Right after jumping off the rail, you'll jump along the platforms with crates floating between them. Jump on them all!
393/441: Crush all the crates around the final checkpoint, before jumping on the long air traffic challenge.
[[Easy to miss] 394/441: During the last traffic sequence, in the first half, there is an Aku-Aku floating crate. Jump into the lane with the crate and double-jump to reach it. Even if you are far towards the foreground, it is possible to reach.
441/441: Activate the Nitro detonator at the end of the level to earn your gem.

![[Guide] Brawl Stars : How to Get Tons of Free Gems](/images/posts/effae93c4cc10d81700b68c68198fc0b-0.jpg)

![Where to find all the basements [B1] Gems in Luigi's mansion 3](/images/posts/8e722274d724b5e651a3eec2e243ecd2-0.jpg)