The reason why Raspberry is so popular is its versatility. Its uses are varied and can be from a portable retro video game console to a media server at home. You can even install a popular operating system like Windows on the Raspberry to use as a computer.
Un Raspberry can be bought at very reasonable prices on the market and although it is not a full-fledged computer due to its limited functionality. It complies with all the features needed to make it work as it is, with the right software.
Requirements
The most recent versions of the Raspberry Pi have included Bluetooth and WiFi, USB ports, and an HDMI port to connect all the necessary components. Due to its small size uses a MicroSD to store information and that's exactly what will be used to install the operating system.
- Raspberry Pi 4 (or recent versions)
- micro USB
- Class 10 SD card (preferably 32GB or 64GB)
- USB keyboard
- USB mouse
- Monitor (with HDMI connector)
Installable operating systems
- Windows 10 loT Core
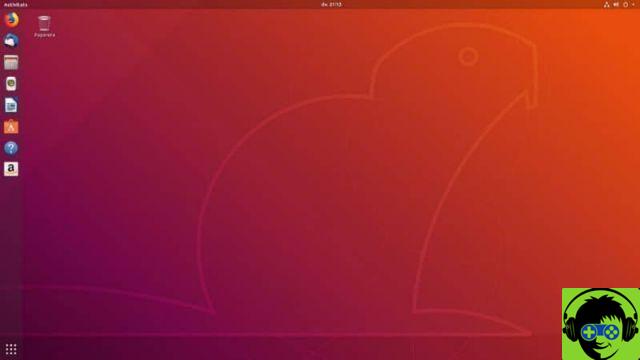
- Ubuntu MATE
- Ubuntu snapping
- SCRATCHS
- PiNet
- OSMC
Preparing the operating system
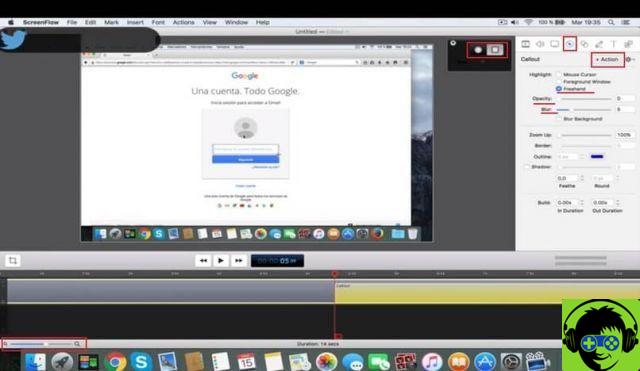
First you have to prepare the SD card with an older format. You can use a third-party application such as Memory Card Formatter, which is available for Mac and Windows. If you have Linux you can format the SD card via commands.
How to install an operating system on the Raspberry Pi
Now, with all the tools you need, it's time to install the operating system on the Raspberry. You don't have to be an expert to know that we will need our friend's help NOOBS.
Scarica NOOBS
Its acronym stands for New Out the Box Software and for those related to the term the word also means someone with little or no experience. It is an operating system installation wizard, specialized for Raspberry, for people with little experience.
There are two versions of NOOBS. The standard version has Raspbian pre-installed with a selected group of operating systems designed for Raspberry and the Lite version does not include Raspbian and only has the OS you choose to install.
The Lite version is lighter and faster, but if you plan to use Raspbian it is better to choose the standard version. Download it from its official website and in the end you will have a single file in .ZIP format.
Unzip the archive and copy the files and folders to the SD card. You need to format the SD card first to avoid any kind of inconvenience.
Start the installation on the Raspberry
Connect all components to the Raspberry Pi and insert the SD card. Once the monitor, mouse and keyboard are connected, we turn on the Raspberry. On startup it should automatically start the NOOBS wizard.
The first thing that appears is a list of all operating systems that you can install. Along with keyboard and language settings.
Selecting each operating system displays a brief description of it. Although the most advisable thing is investigate before installing how each works to choose the one that best suits your needs.
After choosing the operating system, you need to connect to the WiFi network to download it. Select WiFi network and from the list of available connections select yours. There are some versions of Raspberry that include an ethernet port to connect directly to the router via cable.
Press the Install button to begin the download and installation. A warning message is displayed to verify that everything is selected correctly. Confirm the installation and wait for everything to install automatically.
Configure the operating system
When the installation process is complete, the Raspberry it should reboot by itself. The moment it boots up, the system setup begins. Add basic information like language, time zone, name and network. Eventually you will be able to use the Raspberry as an extra computer in your home.