


A friend of yours with short hair is undecided whether to grow it or not? Surprise her by showing her in photos how she would look with long hair. How you do it? Simple, using Photoshop and all the potential that this formidable photo editing software is able to offer.
Be clear, if you don't know how to lengthen hair in a photo and you have never tried it before, it is difficult for you to get professional results on the first try, but if you follow my advice I can guarantee you that in a very short time you will learn to achieve the desired result. Let's get started right away!
Before you see how to lengthen hair in a photo, let's start by saying that there are three methods to do this: using the clone tool, using brushes in the shape of a lock of hair or creating custom brushes using the hair of the person portrayed in the photo. You have to choose which one to use according to your needs and according to the type of hair you need to treat in your photo.
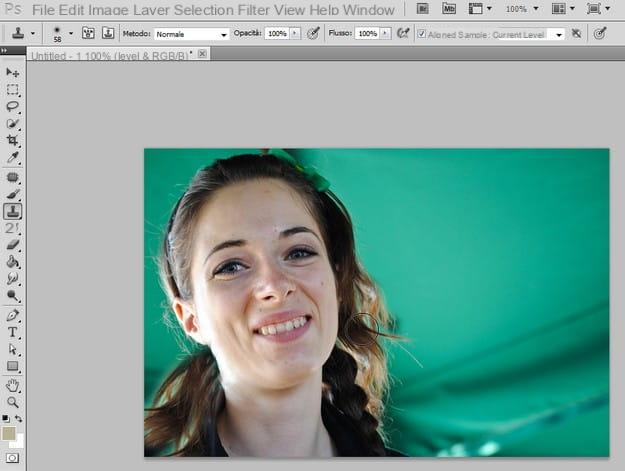
As for the first method, all you need to do is open the photo of the person you want to stretch your hair into Photoshop, select it clone stamp tool from the toolbar of the program (the one located to the left of the screen) and, while holding down the key Other on the computer keyboard, click on the point of the hair you want to use as an extension and then create new strands.
At this point, use the stamp as a brush and "tap" the areas of the photo in which to insert new hair. To get a more natural result, clone and reproduce multiple strands so that you don't have areas with hair of the same color without highlights and shadows. If you are familiar with Photoshop, you can also try to copy and paste portions of hair from one side to the other by "playing" with the shading of the edges, rotating the various strands in a different way and perhaps applying a different type of mode for the various levels.
As anticipated, another method to lengthen hair in a photo is to download from the Internet and use brushes in the shape of a lock of hair. I advise you to download some free collections that you can find in the pages linked below.
- Photoshop hair brushes 1
- Photoshop hair brushes 2
- Photoshop hair brushes 3
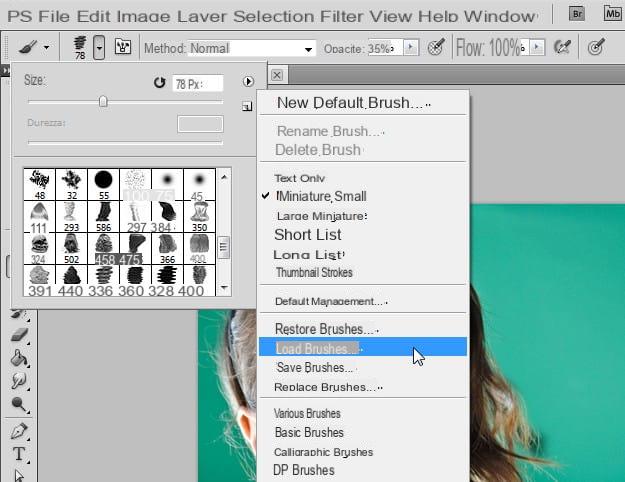
To import brushes downloaded from the Internet into Photoshop, you must first extract them from the zip archives that contain them, then you must start the program, select the brush tool from the toolbar located on the left and click on the small arrow located next to the type of brush selected in the top bar of Photoshop.
Then click on the arrow at the top right of the box that opens, select the item Upload brushes from the menu and select the brush file with extension .Apr to import the brush collection you downloaded into Photoshop and start using it on your photo.
Finally, if you don't want to resort to prepackaged brushes, you can create a custom brush using the real hair of the person portrayed in the photo. Then select it lasso tool from the Photoshop toolbar, hold down the left mouse button and create a selection by “outlining” the section of hair you want to use as a swatch for your brush.
At this point, click on your button Refine Edges (located at the top center) to refine the selection and, when you are satisfied with the result, select the item Define default brush from the menu Modification to create your own custom brush.
The custom brush will have the advantage that it can be colored and resized in any way, just like regular brushes. Use it and, when you have completed the work on your photo, save the final result by selecting the item Save with name from the menu Fillet of Photoshop.
How to lengthen hair in a photo


