


You have to resize some photos to be able to upload them to your website but having recently switched to Mac you don't know which programs to use to do this? What if I told you that you can do everything without even downloading an application from the Internet? No kidding. If you want to learn how to reduce the size of a photo on Mac, all you have to do is make the most of the potential of one of the tools included "standard" in macOS.
Obviously, in the event that what is already offered by the computers of the "bitten apple" is not satisfied (or in any case if you are looking for a valid alternative), you can always and in any case resort to the use of third-party tools. Find everything explained in detail below.
Then? May I know what are you still doing standing there? Position yourself comfortably in front of your trusted computer and immediately begin to focus on reading what is reported below. I am sure that in the end you will be able to tell yourself very happy with what you have learned and that, even, you will be ready to say that in reality it was a real child's play. What do you say, we bet?
"Standard" functions
As I told you at the beginning of the guide, to reduce the size of a photo on Mac you can first use the features of Preview, the application included in macOS to view and edit images and PDFs. You find the app already installed on your computer, you don't have to download it from the Internet.
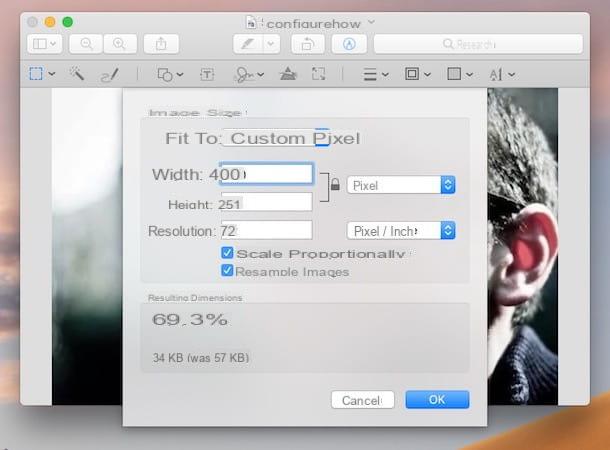
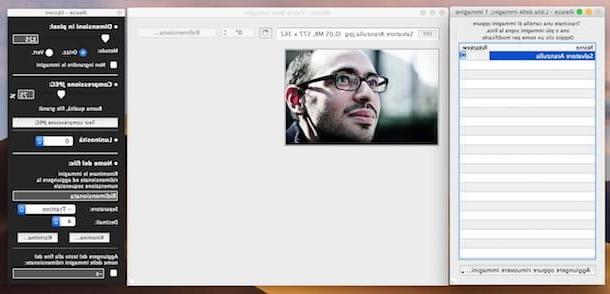
To resize an image with Preview, all you have to do is open the file by double-clicking and select the item Adjust size ... from the menu Instruments. In the window that opens, type the width or height dimensions to which you want to reduce the photo in the appropriate fields and click on the button OK to save the changes. If you don't want to resize the images while keeping their aspect ratio intact, remove the check mark from the item Resize proportionally and continue as seen above.
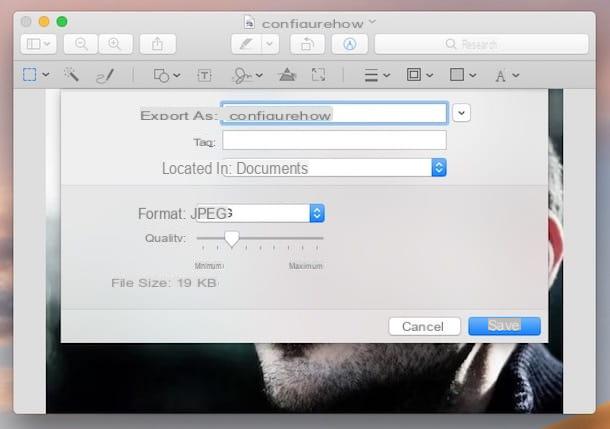
Don't want to “physically” reduce the resolution of an image but just make it weigh less? No problem. Open the photo in Preview and select the entry Export ... from the menu Fillet. In the window that opens, select JPEG give menu to tendin Size and use the adjustment bar of the quality to select the quality level at which to save the image. Of course, the lower the quality selected, the lower the weight of the resulting file will be.
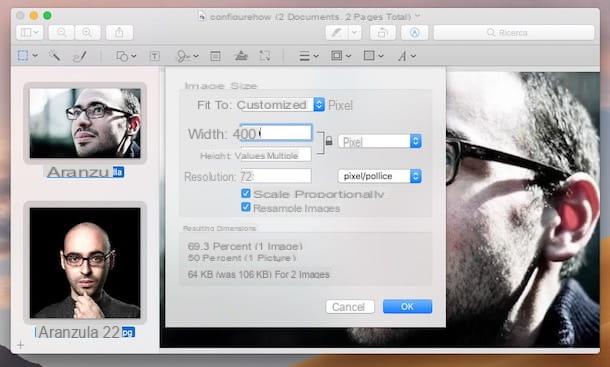
In addition to reducing the size of one photo at a time, with Preview you can also resize multiple images at the same time. How? I'll explain it to you right away. Open the first photo whose size you intend to change and then select the item Miniature from the menu Vista and you will see a sidebar appear with the thumbnail of the selected image.
At this point, drag with the mouse all the images you want to resize in the Preview sidebar and select them by pressing the key combination cmd + a on the Mac keyboard. Then select the item Adjust size ... from the menu Instruments and type the dimensions (in pixels) you want to apply to all the selected files in the window that opens.
If you do not want to change the resolution of the photos but only "lighten them", right click on any of the thumbnails and select the item Esporta eats… from the menu that appears. In the window that opens, select JPEG give menu to tendin Size and use the quality adjustment bar, as seen above, to adjust the quality (and therefore the weight) of the images to be saved. Easy, right?
Third party tools
Are you looking for a valid alternative to Preview to reduce the size of a photo on your Mac but you don't know which tools to rely on? No problem, I can give you some advice in this regard. In fact, below you will find indicated (and explained) those that in my humble opinion represented some of the best applications (offline and online) belonging to the category in question. Put them to the test now! You will see that you will not regret it.
iResize
The first among the third-party tools to reduce the size of a photo on Mac that I want to tell you about is iResize. This is a free application that has not been updated for a few years (but still continues to work perfectly) thanks to which, as can be guessed from the name, it is possible to resize and compress the images saved on the Mac. It is very simple to use and final results are assured.
To download it on your Apple computer, connect to the dedicated page on the website of MacUpdate, presses on the link Download which is at the top and click on the wording No thanks, take me to my download.
Once the download is complete, extract the ZIP file you just obtained in any location and drag the icon of the program that was inside it into the folder Applications macOS and then double-click on it to start it.
Now that you see the iResize window on your desktop, drag to the panel List of images (left) the photo (or photos) you want to act on. Later in the panel Image viewer (the central one) you will be able to preview it.
Then use the panel options (right) to set the pixel dimensions. You can use either the appropriate slider under the heading Pixel size: than to specify the exact dimensions through the dedicated field, indicating whether to act horizontally or vertically on the image.
If, on the other hand, you want to compress the photo, move the slider that you find on the adjustment bar under the item JPEG compression: or specify the reduction percentage via the adjacent field. If you want, you can also test the degree of compression by clicking on the button before proceeding with the save JPEG compression test.
Finally, click on the button Resize ... which is in the panel in the center, indicate the location where you want to save the output file and click on Resize here.
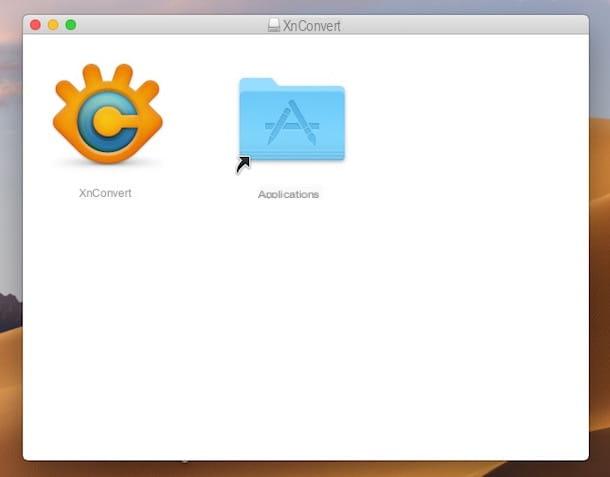
XnConvert
Another resource you can use is XnConvert. It is a no-cost program useful for performing basic image editing operations. Among the various functions offered it also integrates some useful for the purpose in question. It is therefore not a resource specifically designed to resize photos on Mac but it can still be useful in this case.
To download it on your Mac, visit the program's website, scroll down the page displayed and click on the button Mac DMG 64bit.
Once the download is complete, open the package .dmg ottenuto e trascina l'icona di XnConvert on the folder Applications through the window that appeared on the desk. Then start the program by clicking on its icon that has been added to Launchpad.
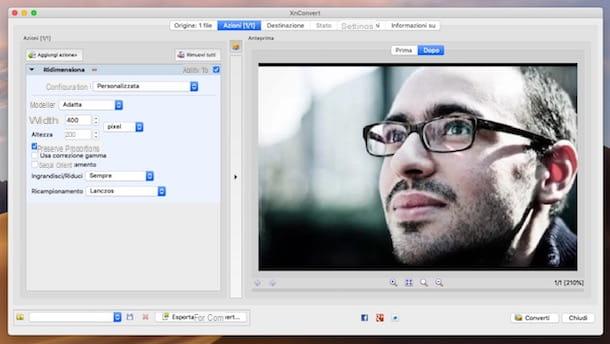
Now that you see the XnConvert window on your desktop, drag over the photos you want to resize and click on the tab Actions. Alternatively, click on the button Add files ... or on that Add folder ... to "manually" select the photos or folders that contain them you want to act on.
At this point, presses on the button Add action>, select the voice Image is that Resize from the menu that appears. Set all the parameters you want to use to resize the photos via the menus below (you can preview the final result on the right) and click on the button Converted.
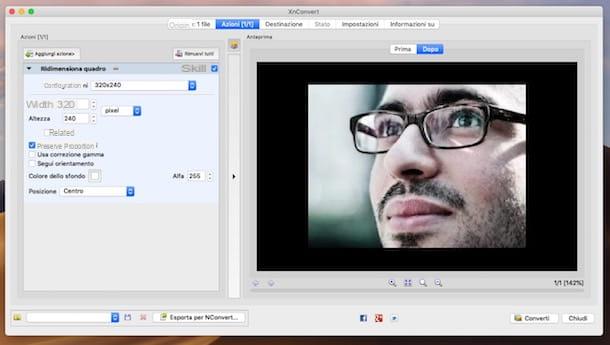
You can also resize your digital photos so that the part exceeding the desired resolution is cut off. To succeed, choose Resize canvas rather than Resize from the menu Add action>.
By default the program creates a copy of the resized images in the same location as the source files. However, if you want to change this behavior and define a different output location, click on the tab Destination at the top of the program window, press the button [...] that you find in correspondence with the section Destination and indicate the path you prefer from there.
JPEGmini
If your need is to reduce the size of a photo on Mac in JPEG format by acting on the degree of compression, you can rely on JPEGmini. This is a program specially designed for this purpose that can be used by means of a simple drag and drop. It is available both in a free version (the one I used to write this step) which allows you to compress up to a maximum of 20 images per day and in a paid version (without any limitation).
To use it, first connect to the program's website and click on the button Free Trial, in order to download JPEGmini to your Mac.
When the download is complete, open the .dmg package obtained and drag the program icon to the folder Applications. Then log in to Launchpad and start JPEGmini from there. Then check the box relating to the acceptance of the terms of use of the software, click on Accept and then Start Your free Trial. Fill in the fields on the screen with your name and your e-mail and press the button to continue.
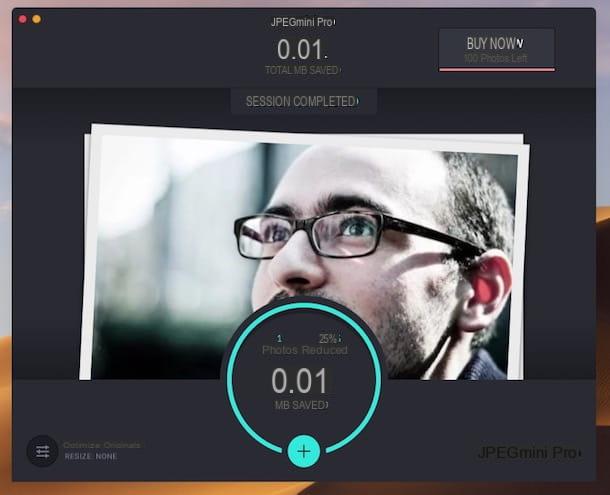
Now that you finally see the main window of the program on the screen, drag over the photos in JPEG format you want to compress and press on Continue to start the procedure. Afterwards, you will be shown how much the image could be compressed and the original photo will be replaced by the “lightened” one you just generated.
If you want to prevent the program from modifying the original images, before starting the compression procedure as I have indicated above, press the button with the cursors which is at the bottom left, select the option Export to folder, indicate the folder on macOS in which to save the final result and click on Apply.
ILoveIMG
If you don't feel like using one of the "classic" applications mentioned above, you can also rely on an online tool such as ILoveIMG to intervene on your images. It is a Web service, free and functional from any browser, which provides users with various and interesting tools useful for resizing and reducing the weight of photos in JPG, PNG, SVG and GIF format. It also allows you to act in batches and has a really good user interface.
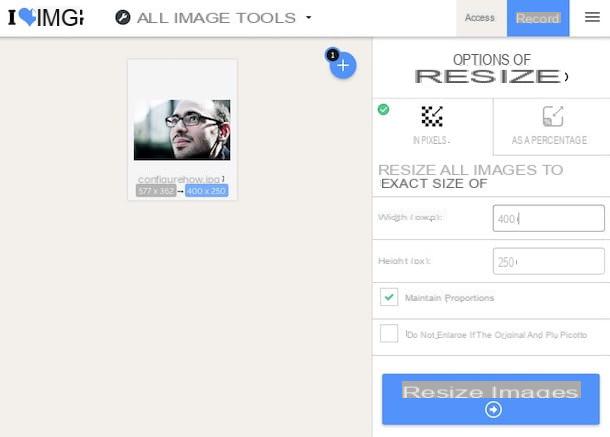
To try it, connect to the home page of the service and click on the button Select images to select the photo (s) on your Mac that you intend to resize. Alternatively, drag the images directly into the browser window, in correspondence with the writing drop pictures here. You can also upload photos from Google Drive or from dropbox, just click on the relevant icons and type in the login data of the service.
Once uploaded, indicate if you want to resize the image by specifying the exact size in pixels or if you want to intervene by percentage. In the first case, specify width and height in the appropriate fields on the right, choose whether or not to keep the proportions by leaving or removing the check from the item Maintain proportions and indicate if you are interested in enlarging the final image if the original one is smaller by adding the check box Do not enlarge if the original is smaller.
Then click on the button Resize Images located at the bottom of the screen. When the procedure is completed, the download of the resized image will start automatically. If it doesn't start by itself, press the button Download resized IMAGES to force it. If you prefer to save the image on Google Drive or Dropbox or if you want to get a link to share it online, press the dedicated buttons on the right.
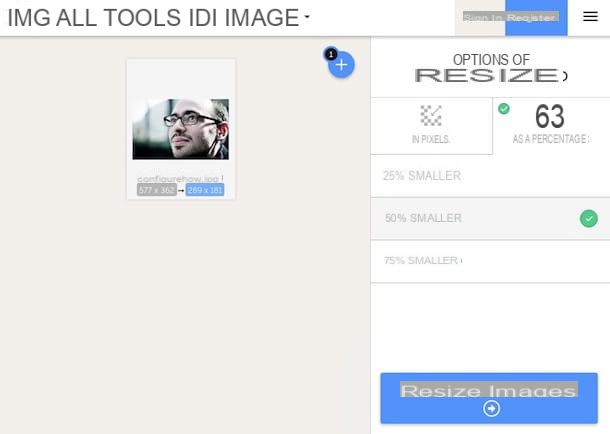
To resize an image by percentage instead, select the tab In percentage that you find on the right on the main page of the service and indicate how much you intend to reduce the photo by choosing one of the available options. The rest of the steps to be taken are identical to those I pointed out earlier.
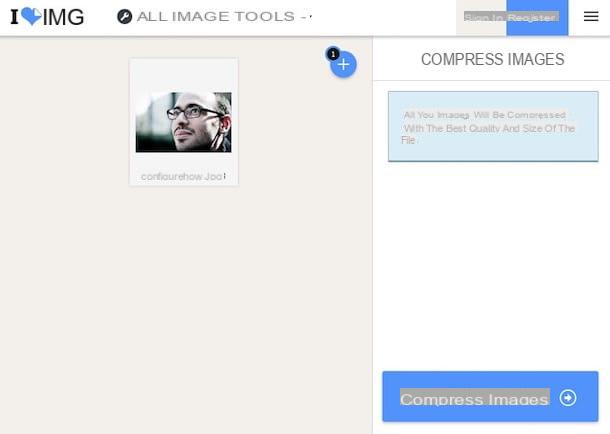
If instead you want to reduce the weight in KB, MB etc. of a photo, the tool you need is the one you find on this other page. Then upload the images you want to act on as I explained to you in the previous lines, then press the button Compress IMAGES which is at the bottom right.
At the end of the procedure, the final result will be automatically downloaded to your computer and you will also be shown how much it was possible to reduce the file size. If the download does not start automatically or if you want to save the image on one of the supported cloud storage services, follow the instructions on what to do that I gave you just now.
How to reduce the size of a Mac photo


