


These bosses are really tough - and Tarsus is perhaps the toughest of them all. The boss is waiting for you at the end of the abandoned room. Tarsus is an ice-based knight with magical spells that will ruin you completely.
You'll want to be well prepared before facing this knight, so I highly recommend that you complete one of the other areas first and save the abandoned chamber for the second or third. Why? Because at the first mini-boss arena there is a point of no return until you complete the boss.
You have three choices. You can complete the next challenges in any order - Temple grounds, Underground Chamber, or Eternal Narthex each have a boss at the end of the path. I highly recommend that you do not start with the underground chamber, as you will be trapped on the way once you reach the miniboss arena.
Abandoned room
The Abandoned Room is a small lair filled with undead monsters. Ghouls will poison you on contact, so use Tarsporus to heal and immunize you. They are weak, so normal attacks will stun them.
The heaviest undead throw blades and attack slowly. Use heavy combos to stun and deal damage to them before retreating. At around 25% HP, they'll rip their heads off and throw them away. The area is very short - just go down the stairs and turn right to find the boss's door. You can get a weapon upgrade from the chest, guarded by an undead armed with spikes on the left path.
Interact with the relic from the book to unlock the Lame du martyr, an even bigger, slow but powerful sword.
Sanctum sanctioned
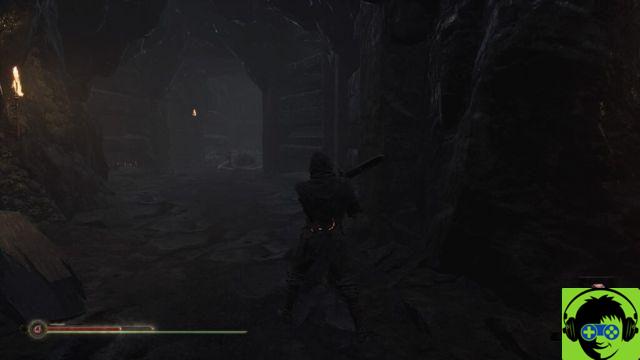
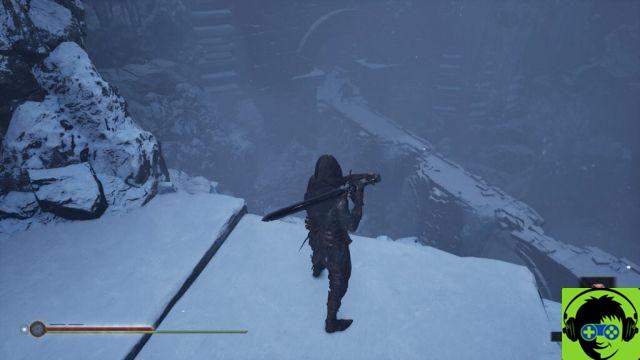
To reach this area, go down the stairs and turn right. Walk past the large undead and enter directly into the boss arena to start the fight.
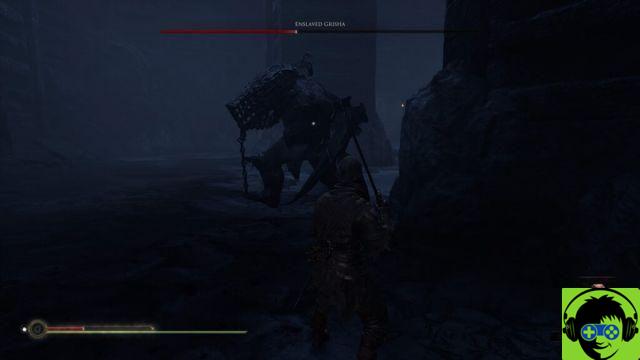
Mini-boss: Grisha asservi
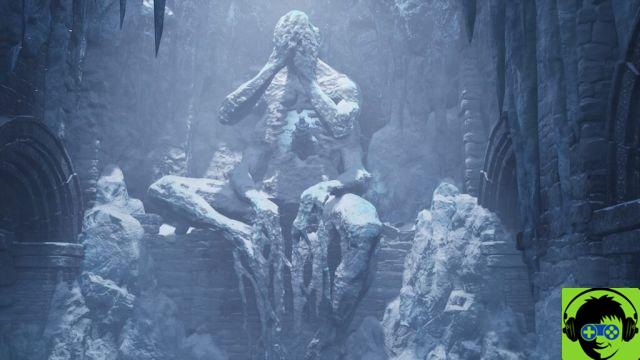
The Enslaved Grisha is a harsher version of the Grisha you encountered in Fallgrim. He uses similar tactics - going into 3-hit combo attacks and slamming the ground with his giant claws. It has a much longer range and, when it hits the ground, knocks ice spikes off the ceiling. Avoid the center of the arena when the ice begins to fall!
Use similar tactics to take this guy down. Wait for your Tarnished Seal to glow and dodge left / right when it's about to make a background noise charge. When blocked, use a heavy attack and protection with Harden. Beware, as this will cause a small amount of AOE damage after removing the blade from the ground. I like to charge a heavy attack to hit him from a distance.
Defeat the Grisha to reach another Sester genessa. To unlock the door near the Sester, go down the inner deck and go up to the door.
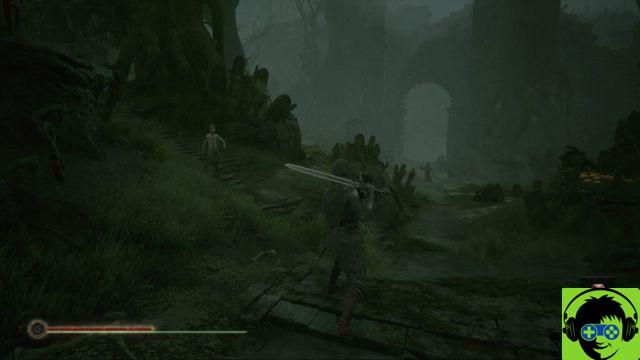
This area is populated by tough Viking knights - to defeat them easily, use heavy attacks then retreat. It takes about 3 heavy jump attacks to defeat them. Go down slowly. You can unlock a shortcut path by going up the stairs to the Ice Catacomb and defeating the ghost that otherwise blocks your path with a wall of ice.
Altar of martyrs
The altar of the martyrs is located at the end of the enlisted shrine. It's a long, long way to the end - brace yourself with healing items and carefully take out enemies, one at a time. There is a Sester checkpoint waiting at the bottom of the Enshrined Sanctum, so no need to worry about boss fights.
- NOTE: There is a Wellcap located outside the boss arena. Make sure you grab it and only use them when you are sure you can win.
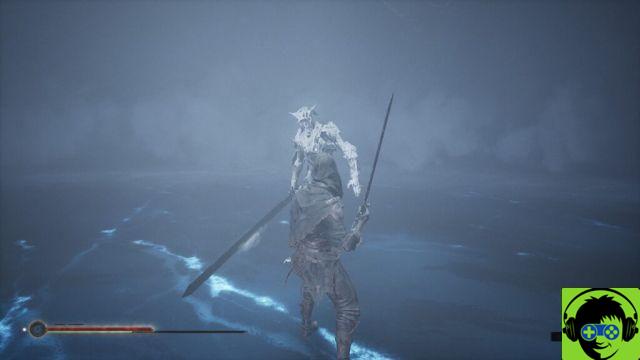
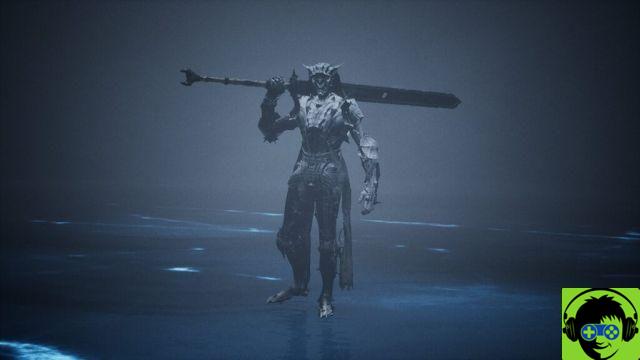
Boss: Tarsus, the first martyr
Tarsus is a quick opponent who uses ice magic and cunning to overwhelm you. At the start of the fight, he will emerge from the shadows three times. Listen to the sound of its blade - when you hear it, move away to avoid attacks. The real fight begins when you are on the ice with Tarsus. Avoid cold areas around the edges of the arena, you will die quickly if you get inside.
Tarsus has several attacks that he will go into - when he becomes invisible you lose the lockdown. I recommend backing up and waiting for him to throw a standard three attack combo that ends with a swing over. After this swing over his head, he is vulnerable to a heavy attack.
Tarsus's most annoying attack is when he stops and stops. He will slowly lower his sword into the ice, generating a cloud of ice in the area. You'll have time to hit him before the attack charges, but the AOE persists long after the Ice Circle disappears. Stay out or you will take damage.
One of the most important attacks to watch out for is his sword throwing. Hear a spinning sword, then dodge. Wait for him to jump to grab his sword, then dodge again. If you manage to dodge, you'll be able to land three heavy sword attacks on the boss before he recovers.
Phase 2:
Defeat Tarsus once and the second phase will begin. Tarsus moves slower but can counterattack with blazing speed if you're not careful. He can slide across ice, sidestep your attacks - just keep attacking him and be ready to use Harden to block him. You will need to be more aggressive in this round.
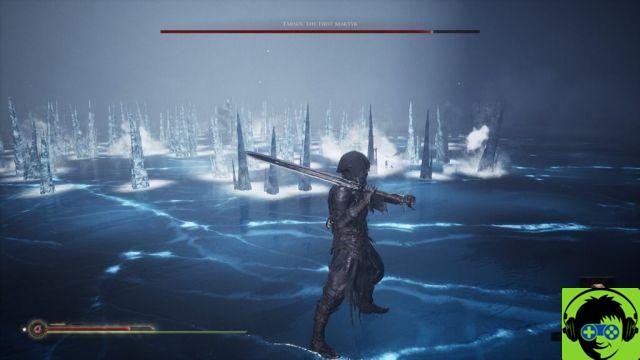
His most annoying new attack is his Summon Ice Spike. Instead of spawning a flurry of AOE ice damage, it summons spikes of ice out of the ground. Touching them will cause you to freeze - when frozen it will pounce on you and deal massive damage to you. It covers a large area. When he spins his sword and sticks it into the ground, dodge the roll as far as you can.
When he performs a large sword lunge, he attacks once or twice. After the first swing, dodge it towards him and attack. You can hit him three times while he's trying to dodge, or right after a huge sword slit. Make sure you have Harden and use him if he tries to use a second straight sword.
Whenever he performs a sword flush, dodge towards him and attack. As long as you don't hit the tip of the sword, you won't take damage. Use Harden often, and when he swings his sword wildly after sliding, dodge until he hits the ground with a snap. This is another opportunity to attack.
The second phase is more unpredictable and very difficult. Defeating him will reward you with the [[Crystal gland] of the strange creature. You will also benefit from the [[Nectar Tar]. Bring it back to Old prisoner in Tour Fallgrim.
After you collect the gland, you will have to fight back out of the enlisted shrine. The enemy's layout is different now, and it's very dark - but you can still just walk past the undead and knights to return to Sester. Use the shortcut path (at the top of the stairs) to reach Sester faster. When you reach a Sester, be sure to sip the tar to make enemies chasing you disappear.
Your goal is Tour Fallgrim. Come back there to reach the next stage of the game. You will also find Thestus in Fallgrim Tower - at the cost of a preview it will add or remove the fog effect from the area.
Put the gland back into the Old prisoner to earn the [[Powerful response]. It's a more powerful parry. You can switch between the two capacities with [[Triangle].


