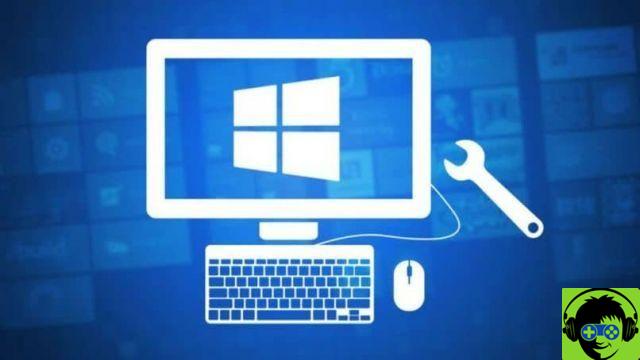
For many personal computer users, especially those using the Windows operating system, it can seem difficult and very cumbersome to make changes to the hardware because they don't know how reactivate it. But this may be easier than you think, which is why below we will outline what you should do for Easily reactivate Windows 10 after a hardware change.
But many technical aspects have changed with the arrival of the new version of Windows 10 and this process promises to be faster than it did in previous versions.
Ever since, when all kinds of changes were made hardware on your equipment, you had to call customer support so that the problems could be resolved with reactivation.
It is no longer a secret that Microsoft has played it all with this new one operating system and in its latest updates it has improved what didn't seem to work.
And to help you fix your errors that can occur in the Windows 10 operating system, like blue screen error 0x0000000016.
How to easily reactivate Windows 10 after a hardware change
It is important that you know the new option it offers us Windows 10, allows us to reactivate the operating system after making changes to the hardware.
But even in cases where the key is lost and to do so, we only need to enter the configuration settings. Simpler than that is impossible and now we will tell you what you should do.
It is also important to check if the license is linked to our Microsoft account before making any changes and having no problems afterwards.
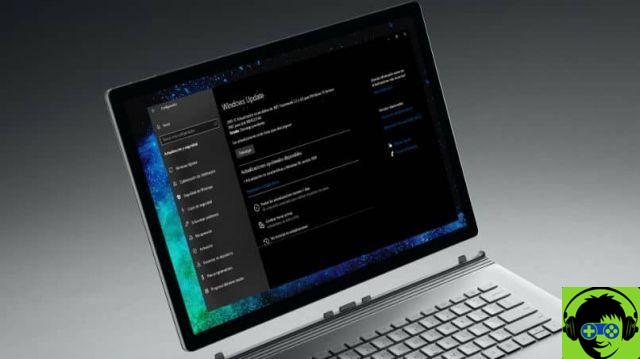
To do this, we will go to the boot menu, right-click and choose Settings. So we have to select the Update and security option, then choose Activation.
Entering this window we will see that everything must be perfect, we will discover that our license of Windows is active. Is that is actually connected to our Microsoft account. But if not, we will see that it will show us an Add Account option and through it we have to create the link.
Steps to easily reactivate Windows 10 after a hardware change
Once the above steps are completed, if we can initiate the change Hardware, then we will start the PC and start the session with our Microsoft account.
So we have to do the following we will go to the start button and from there to Settings. In this window we look for and choose the Update and security option and then Activation.
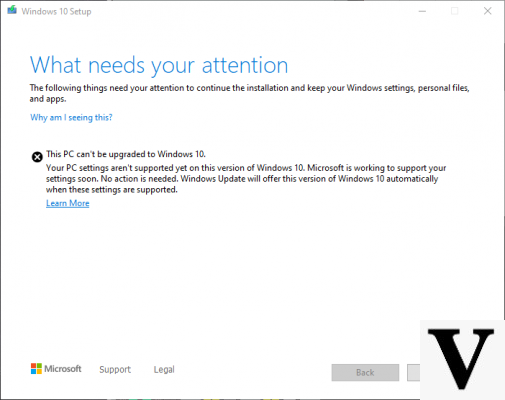
In this last section, we will verify that an error message is displayed with the following message Windows not activated. Now the next step is to look in the Settings window for the option Resolution of the problems. We must emphasize that when logging in we must have done so with an administrator account.
Being now in the troubleshooter, we must indicate that we have made the hardware change on our PC. Once this is done, the wizard will start and will take care of reactivating Windows 10. We may need to enter our Microsoft account information, so you should have it handy.
Next, it will show us a list and list the devices linked to our account. So we have to choose the computer we are using and where we made the change and we want to reactivate Windows. And finally, we'll just have to click on the Activate option, so that it can proceed.
And so, in this simple way, we finished activating Windows 10, which caused us a bit of fear at first. Since in previous versions, it has become a tedious and somewhat cumbersome process. By doing this, you have learned what you should do for Easily reactivate Windows 10 after a hardware change.