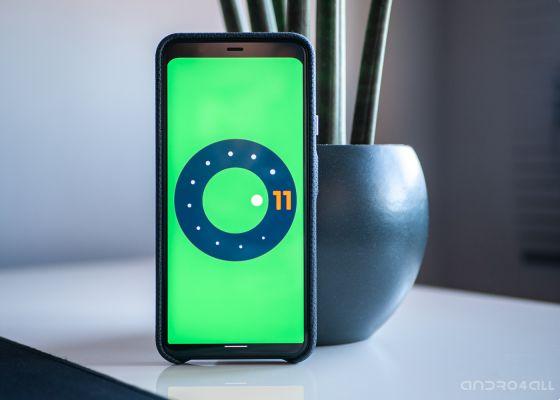
In the midst of the hype that led to the early arrival of Android 11 Developer Preview 1, it is very likely that more than one has decided to jump into the pool and install the new preview version of Android on their Pixel device to test the new features. this update includes. But now that several hours have passed and some of the defects and shortcomings of this developer edition begin to come to light, it is not surprising that there are those who now want return to "normal" of Android 10.
Fortunately, the process to get rid of Android 11 Developer Preview and go back to Android 10 is simple. In fact, the steps to follow are similar to those that were carried out when installing the new version on the device.
What you need to get back to Android 10 from your Android 11 mobile phone

If you have currently decided to install Android 11 on your device, let's assume you are familiar with concepts such as manually installing an OTA update or unlocking the bootloader - by the way, the latter is necessary in order to perform the process that we will explain. right away. Therefore, in this guide we will not go into detail on these types of concepts, and we will limit ourselves to listing the necessary requirements and steps to follow to get back from Android 11 to Android 10.
Therefore, before starting, it is better to make a full backup of your Android mobile, because at the end of the rollback process on Android 10, all data stored on the device will be deleted, as the installation of the previous version requires a Factory Reset which will be performed automatically.
Other than that, you need to have a computer with ADB drivers installed to be able to perform the installation process of the Android 10 ROM on the mobile and of course a USB cable.
Where to download the Android 10 ROM corresponding to your device
In the same way you installed Android 11, to go back to Android 10 you have to install a full factory image of the previous version. Obviously it is not enough to install any image, but it must be the one corresponding to your device. Here are the links to download the latest versions for each Pixel series terminal:
- Pixel 4 XL - Factory image of Android 10
- Pixel 4 - Factory image of Android 10
- Pixel 3a XL - Factory image of Android 10
- Pixel 3a - Factory image of Android 10
- Pixel 3 XL - Factory image of Android 10
- Pixel 3 - Factory image of Android 10
- Pixel 2 XL - Factory image of Android 10
- Pixel 2 - Factory image of Android 10
Get back to Android 10 from Android 11 step by step
When you meet all the requirements and have downloaded the factory image corresponding to your terminal, the steps to follow for install Android 10 and then delete all traces of Android 11 DP1 from your mobile are as follows:
- The first step is to connect the device to the computer with USB debugging enabled from the developer options.
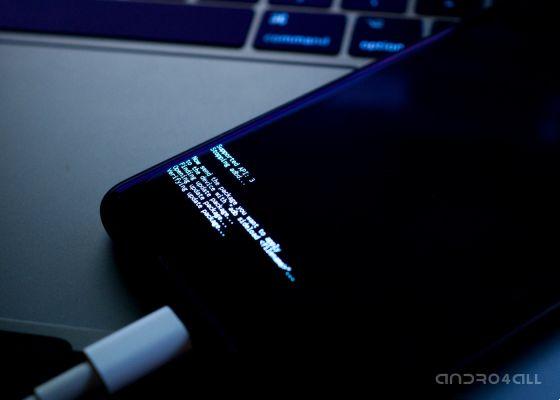
- Connect the mobile phone to the computer with the USB cable and open a command window.
- Boot your phone into bootloader mode by running the command “adb reboot bootloader”.
- In the command window, go to the path where the ROM file was unzipped with the command “cd / Users / YourUser / Desktop / ImagenAndroid10” - the path will depend on where the file was unzipped in each case.
- To flash the image, use the script flash-all included in the downloaded package. The command to perform this process depends on the operating system used on the computer:
- About Windows: execute the command " Flash-all.bat "
- Your MacOS or Linux: execute the command " ./flash-all.sh "
The installation process will start and, after five to ten minutes, the installation will complete. The device will restart automatically. Keep in mind that the most common is that this first start takes longer than normal, between 5 and 10 minutes.
But if something fails to auto-install via the flash script built into the package, there's always the option to manual installation following these steps:
- First, you need to install the bootloader, reboot the device and then install the "radio" before rebooting into bootloader mode:
- bootloader flash fastboot -nomefile bootloader-.img
- fastboot reboot-bootloader
- fastboot flash radio-radio filename-.img
- fastboot reboot-bootloader
- Flash the factory image:
- fastboot flash -w update -image filename-.zip
- Restart your device in case it doesn't do it automatically
- fast reboot
And this is all. Once your mobile has restarted, it will do so in a completely clean version of Android 10 - remember that, as we have warned before, all your data will have been deleted. You can now wait for Google to continue working on the new preview versions of Android 11 until the beta program opens, the first version of which should be much more stable than this first previous developer edition.