iPhone XS and iPhone XS Max are equipped with a camera and features that will allow you to take truly amazing shots. In this article, you will learn how to use all the features of your iPhone XS and XS Max camera and you will be able to take extraordinary photos, photos that no one will ever believe were taken with an iPhone!
Content index
- Open the camera quickly
- Take pictures secretly
- Change the Settings
- Change Shooting Mode
- Advanced Portrait Mode
- Focus (exposure)
- Live Photo Mode
- Use the Telephoto lens
- Photo Burst Mode (burst)
- More iPhone Camera Apps
1. Open the camera quickly
Do you know that you can open the iPhone XS camera in half a second? If you didn't know, it is good to learn this feature right away because it will allow you not to miss some sudden shots that require speed and immediacy. You can quickly open the camera iPhone XS (or XS Max) from any screen, including the lock screen.
How you do it?
To open the iPhone XS camera from the block screen, swipe left. You don't even need to unlock the iPhone.

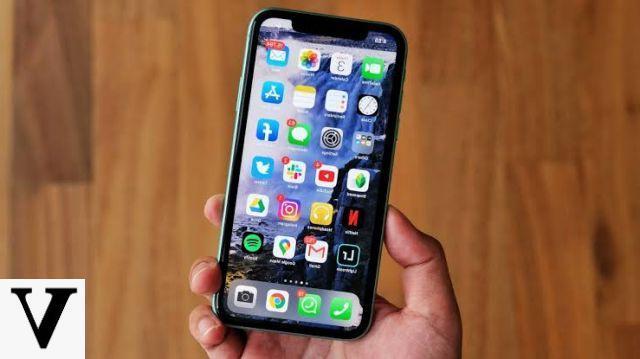
But what if you are on any iPhone screen? You can open the iPhone XS camera from the home screen very easily: just tap the camera icon at the bottom or swipe down from the top right edge. The Control Center will open and you can press the camera icon.
2. Take pictures secretly
Often we find ourselves in situations where it would be nice to take pictures of a person or a subject in general, but without getting noticed to grasp the maximum of spontaneity! With your iPhone XS it is possible take pictures secretly in two different ways!
Open the smartphone camera, point at the subject and click the volume button (no matter which one) and your iPhone will instantly take a photo! This will be very useful especially when you are taking pictures horizontally and you need maximum grip. In these cases it is difficult to reach with your finger on the camera button, but it will be very easy to click a volume button!

Alternatively, to take pictures even more secretly, you can wear a pair of headphones and click the volume button of the headphones! The effect will be the same but by not physically having their hands on the smartphone, no one will notice that you are taking a picture! In the box of your iPhone XS there are already headphones perfect for the occasion.
And the beautiful thing do you know what it is? While sneaking photos, you can safely continue listening to your favorite music!
3. Change the Settings
To take photos with the much better iPhone XS, there are Settings to be activated which will help you a lot! Through them, in fact, you can activate the following settings, and improve the composition and quality of the photos. To activate all these parameters, all you have to do is go to Settings -> Camera and then activate:
- Grid (and Rule of Thirds)

All of you will know the "grid“, A tool that splits the screen into 9 areas and that allows you to apply the famous Rule of Thirds faster to make better compositions with more visual impact. If this is your first time hearing about it, this trick will change your "perception" of photography forever!
- Smart HDR

HDR photos are special photographs that allow you to automatically create what is called in photography Double Exposure (which we told you thoroughly in our guide on how to take better photos with your smartphone). Put simply, when your iPhone XS thinks it's the right time, it will take photos with more marked contrasts and more saturated colors (even at night) that will drive you crazy!
- Keep Photos Normal

HDR shots are sometimes a double-edged sword because they could enhance parts of the photograph you didn't want. By activating this option your iPhone XS will also save a normal photo in addition to the HDR one.
- Formats

By accessing the Formats section (in Settings -> Camera) you can select the item "More compatible”So that you can take pictures in JPEG format (instead of HEIF) allowing you to have shots - sometimes - with higher quality, but above all compatible with any operating system, especially if you want to modify it later.
These are just some of the tips and tricks for taking beautiful photos with your smartphone that we have already told you about. But this guide isn't over yet, so let's see more!
4. Change Shooting Mode
The iPhone XS and XS Max Camera app provides several shooting and shooting modes, which therefore offer various possibilities to take photos and videos in a better way. Below we would like to show you a few tricks and details of each of them so as to learn the various potential of your smartphone:

- Gallery: it is certainly the most used mode, that is the one preset when you open the Camera application. The Apple software has improved a lot over the years and therefore we advise you to use it by applying the various precautions that we have shown you in the previous paragraph. Unfortunately, the Manual Mode is missing, a flaw that the iPhone by have been carrying around for years now.
- SLO-MO and Time Lapse: with these modes, accessible by swiping to the right or left just above the Camera button, you can make slow motion video (SLO-MO) o speeded up videos (Time Lapse). Here the software, coupled with excellent SONY sensors, is able to perform real magic. They are not ways to take pictures with iPhone, but we couldn't fail to mention them.
- Square: are you an Instagram lover or does your shot in general need a particular composition? With this mode your shots will be perfectly square, an effect that in many photos can greatly increase the visual impact!
- panorama: with the Panorama mode you can take very wide photos to capture views, horizons or in any case very large places. Once the mode is selected hold the iPhone motionless and rotate your body. For a better effect we recommend that you buy a smartphone tripod.
- HD Portrait: it is one of the most popular modes. By taking advantage of both the rear sensors of the iPhone XS and XS Max you can combine photos to obtain what in photography is called the Bokeh Effect, or a blur of the background with respect to the main subject. iPhone allows various modes of Bokeh, all very special.
5. Advanced Portrait Mode
In the previous paragraph we saw what Portrait Mode is. With the new iPhone XS and XS Max, however, something has changed compared to the previous versions of iPhone with dual cameras. Now you can access an Advanced Edit for photos taken in this way.
Go to app Gallery and look for a photo taken with Portrait Mode. You will notice that the "Modification". Being a portrait photo, iPhone will give you the possibility to manage the portrait effect (therefore the Scenario) but above all you can change the depth of field.

By acting on the parameter "f"Which conditions the"aperture”Of the lens (in a fictitious way of course, because the photo has already been taken so it is only an artifice, an effect) you will make the background of the subject more or less blurred. In general, a very large aperture corresponds to a smaller “f” (focus) value, and a greater blur.
6. Focus (exposure)
For many of you this will seem like a trivial trick, but we assure you that the management of this parameter is one of the basic fundamentals of photography! Do your photos appear blurry? Or do you happen to have photos that are too dark or too light? Solving this problem is very simple!
Before taking pictures with iPhone XS you can focus the scene correctly simply by clicking with your finger on the subject you want to focus on before pressing the shutter button. In this way your smartphone will give a correct “Exposure” to the subject in terms of focus and brightness.

If a photo looks too dark or too light to you, you can use this option to properly balance the exposure. If the scene is too dark (underexposed), before shooting touch with your finger on a darker point of the photo and the phone (to stand out and focus) will increase the brightness of the scene.
In reverse if the scene is too bright (overexposed), before shooting, touch your finger on a brighter part of the photo and the smartphone will make the whole scene darker (as if it were lowering the brightness).

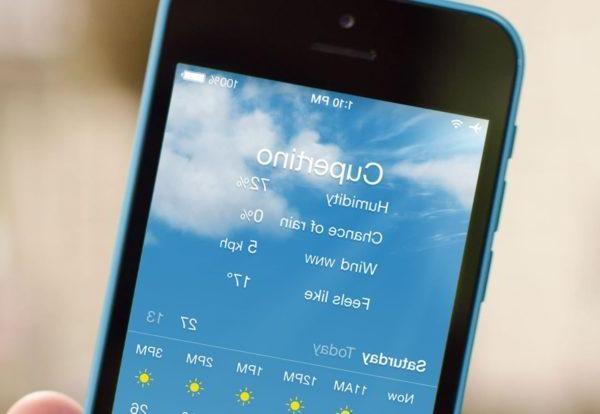
Also, once you click on a point in the image it will appear the sun icon next to a yellow square (like what you see in the picture). With your finger you can "grab" the sun and drag it up or down to increase / decrease the brightness level and manually manage exposure. In short, as you can see, a simple touch on the screen can work wonders!
7. Live Photo Mode
In the Camera app, before taking pictures with your iPhone, you can select at the top (as you can see in the images) the mode Foto Live indicated by a circle icon which - when deactivated - is crossed out. In fact, by clicking on it it will “turn on” and you can take this type of photo.

Be careful though, you can't take your smartphone and take a Live Photo directly if you don't know what it is and, above all, how it works! A Live Photo in fact is not a real snapshot, but a 3 second video which you can review (from the Photos app) by simply clicking on the photograph.
The video, however, is "split into two parts" because iPhone will record 1.5 seconds before and 1.5 seconds after pressing the shutter button. In short, before you press the button, the Camera app will already be recording a video and will continue to do so for another second and a half after you press the button.

Finally it will cut the video as mentioned above in order to make a 3 second one. So it is good that you are prepared both before and after taking a photo in Live mode, and using a tripod the final effect will be even better. Speaking of effects, by going to the Photos app to review Live Photos, you can also click on the "Modification”And add filters, effects or writings.
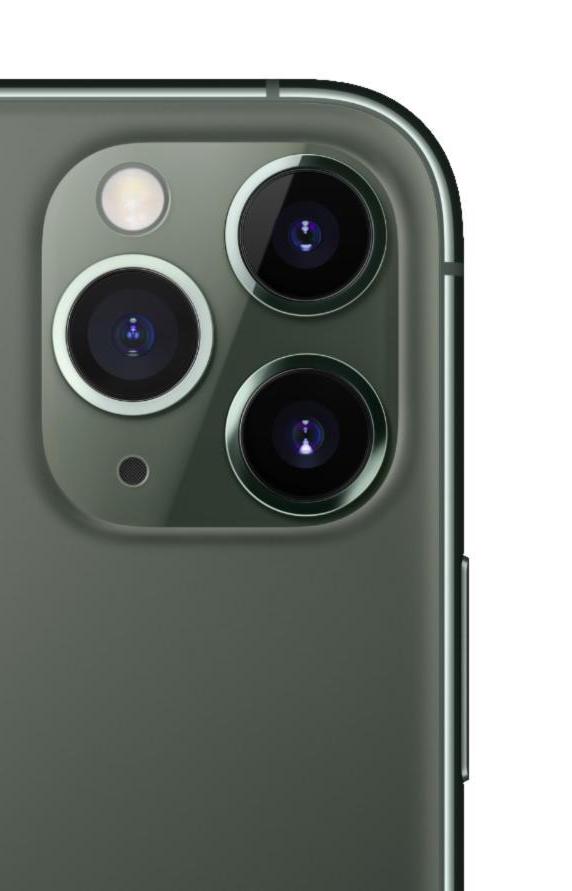
8. Use the Telephoto lens
As is well known, the latest iPhone generations boast a double rear sensor with which it is possible to shoot in Portrait mode, but it does not end there! Thanks to this, a second sensor called Telephoto because it allows you to take shots (let's say so) with zoom, but without losing quality!
In fact, when you use the camera normally, and perform a zoom using your fingers (pinching on the screen), the effect will be to “crop” the image digitally, inevitably losing quality. By clicking on the icon "1X"Just above the shutter button instead, you will switch to using the second sensor.
This sensor is less defined (less megapixels) but being a telephoto lens it will already appear "zoomed in" and taking a photo you will not lose quality. Generally this is also used for "Get closer" to a subject without necessarily having to approach the smartphone, to grasp the details as in the example photo that we have shown you.
9. Photo Burst Mode (burst)
Do you want to take photos with iPhone XS and XS Max of a moving object? There is a trick with which you can not only solve the problem, but also create nice ones motion effects!
Burst Mode is hidden within your iPhone's Camera app and allows you to shoot many frames in sequence so you can choose after the one you like best. In fact, when a subject moves quickly, you don't have time to focus on it and you only have one chance to take the picture.

With the Burst mode instead, you can have "dozens" of opportunities because all you have to do is keep the shutter button pressed: iPhone XS will take lots of photos (as long as you hold down) which will then be "collected" within a single photo. Going to the Photos app you can open the collection and see them individually to choose the best one.
Alternatively, open this collection, you can "swipe" your finger down on the photos for quickly review them and recreate the scene as if it were a video! A cute motion effect that is beautiful to review.
10. Other iPhone Camera apps
Some time ago we told you about some of them valid alternative all'app original Fotocamera pre-installed on your iPhone. Some of them include more effects, and in some cases they are “leaner” and therefore easier to use. Often, however, they will give you the opportunity to take advantage of the Manual mode (always missing on iPhone) with which you can fully exploit all the potential of SONY sensors.
Here, then, is the link to our guide on the best iPhone apps for taking pictures:
So these were our tips for taking pictures with iPhone XS and XS Max in order to make the most of all the tricks and potential of their photographic sector. If you want to learn even more, these guides may also interest you:
- Smartphones for taking pictures: the best to buy
- Guide to photography with Android and iPhone
- Tips and tricks for taking beautiful photos with your smartphone
- Transfer data and photos from iPhone to PC without iTunes